15 June 2022

Creating with Leftovers for Eileen Hull Designs

Hi everyone and welcome. We’ve all got them – a box or drawer of leftovers. Those little bits and pieces which we can’t bear to part with, the last of a pack of paper, bits of stamping, collected items for recycling… you get the idea! This month you are going to see the Teams creating with leftovers in projects using Eileen’s dies. Get your own scraps out and make something along with us. Go get crafty!

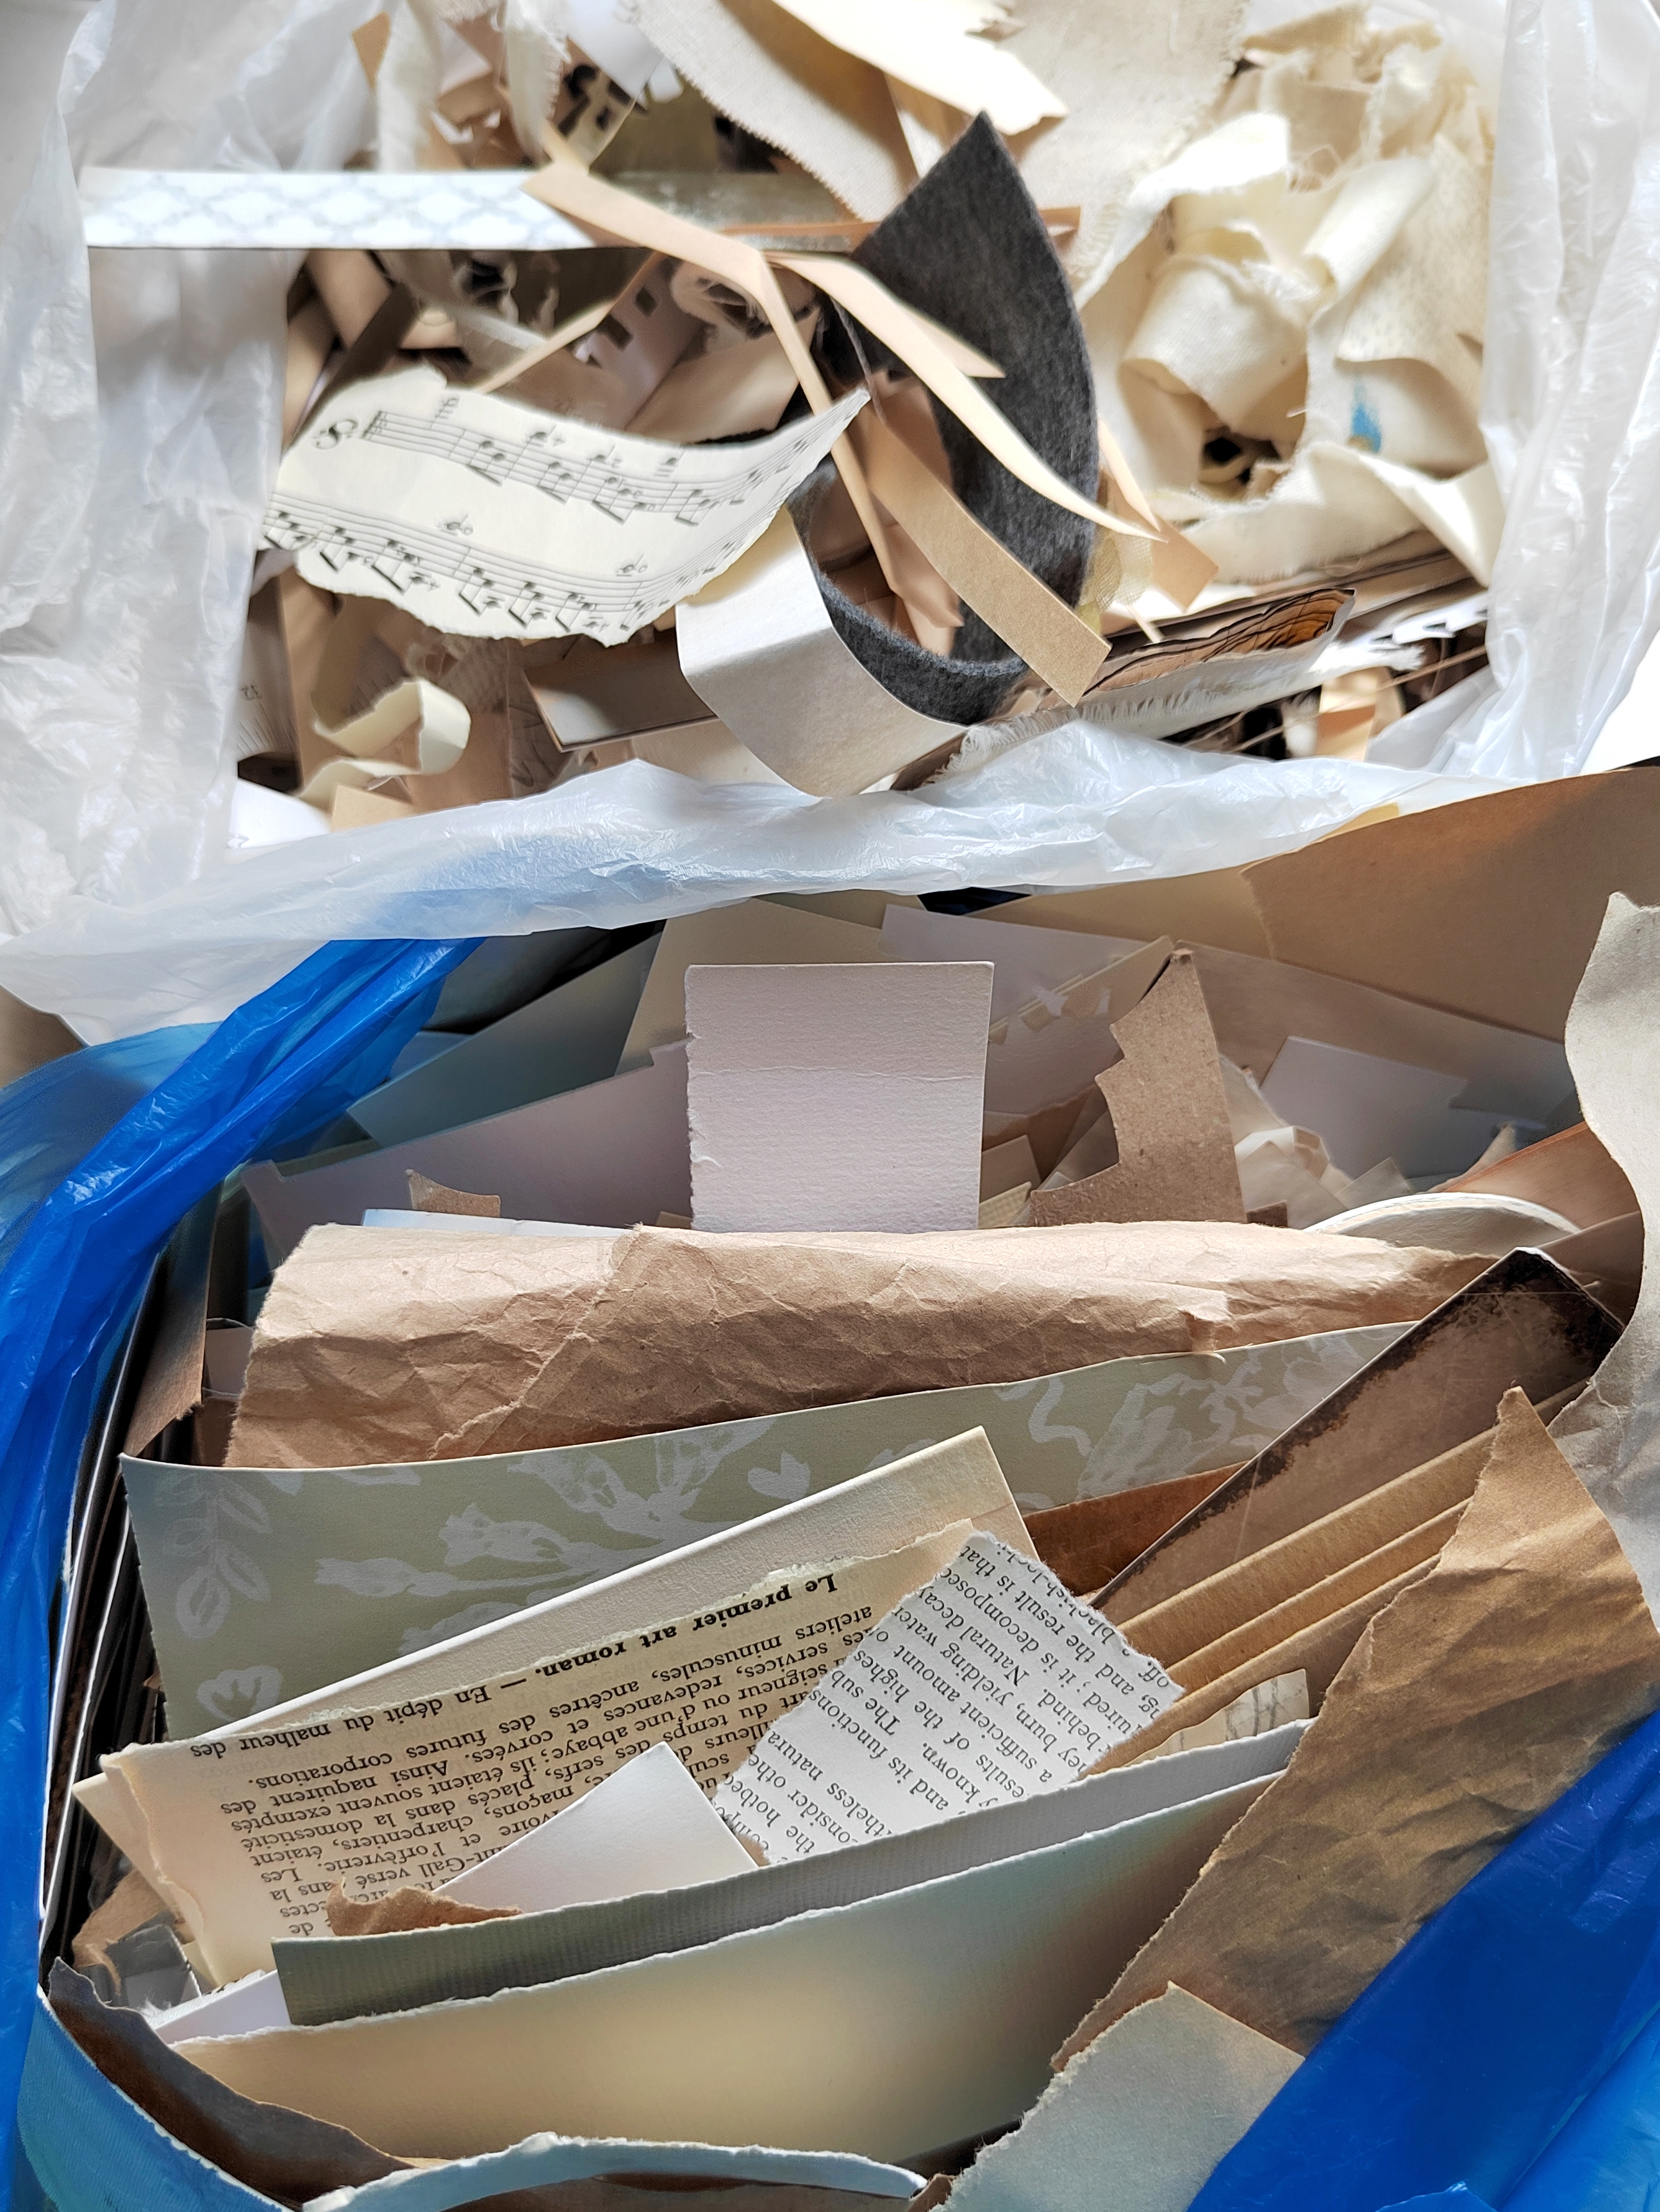
I confess to having SO MANY scraps! Thankfully at least they are organised in separate bags for each colour family, but they do need using up... eventually. For some reason the idea of creating whole journal spreads felt a little overwhelming this week so I hit on the idea of keeping it simpler yet still making something that could slip into my Eileen Journal - collage postcards and envelopes;


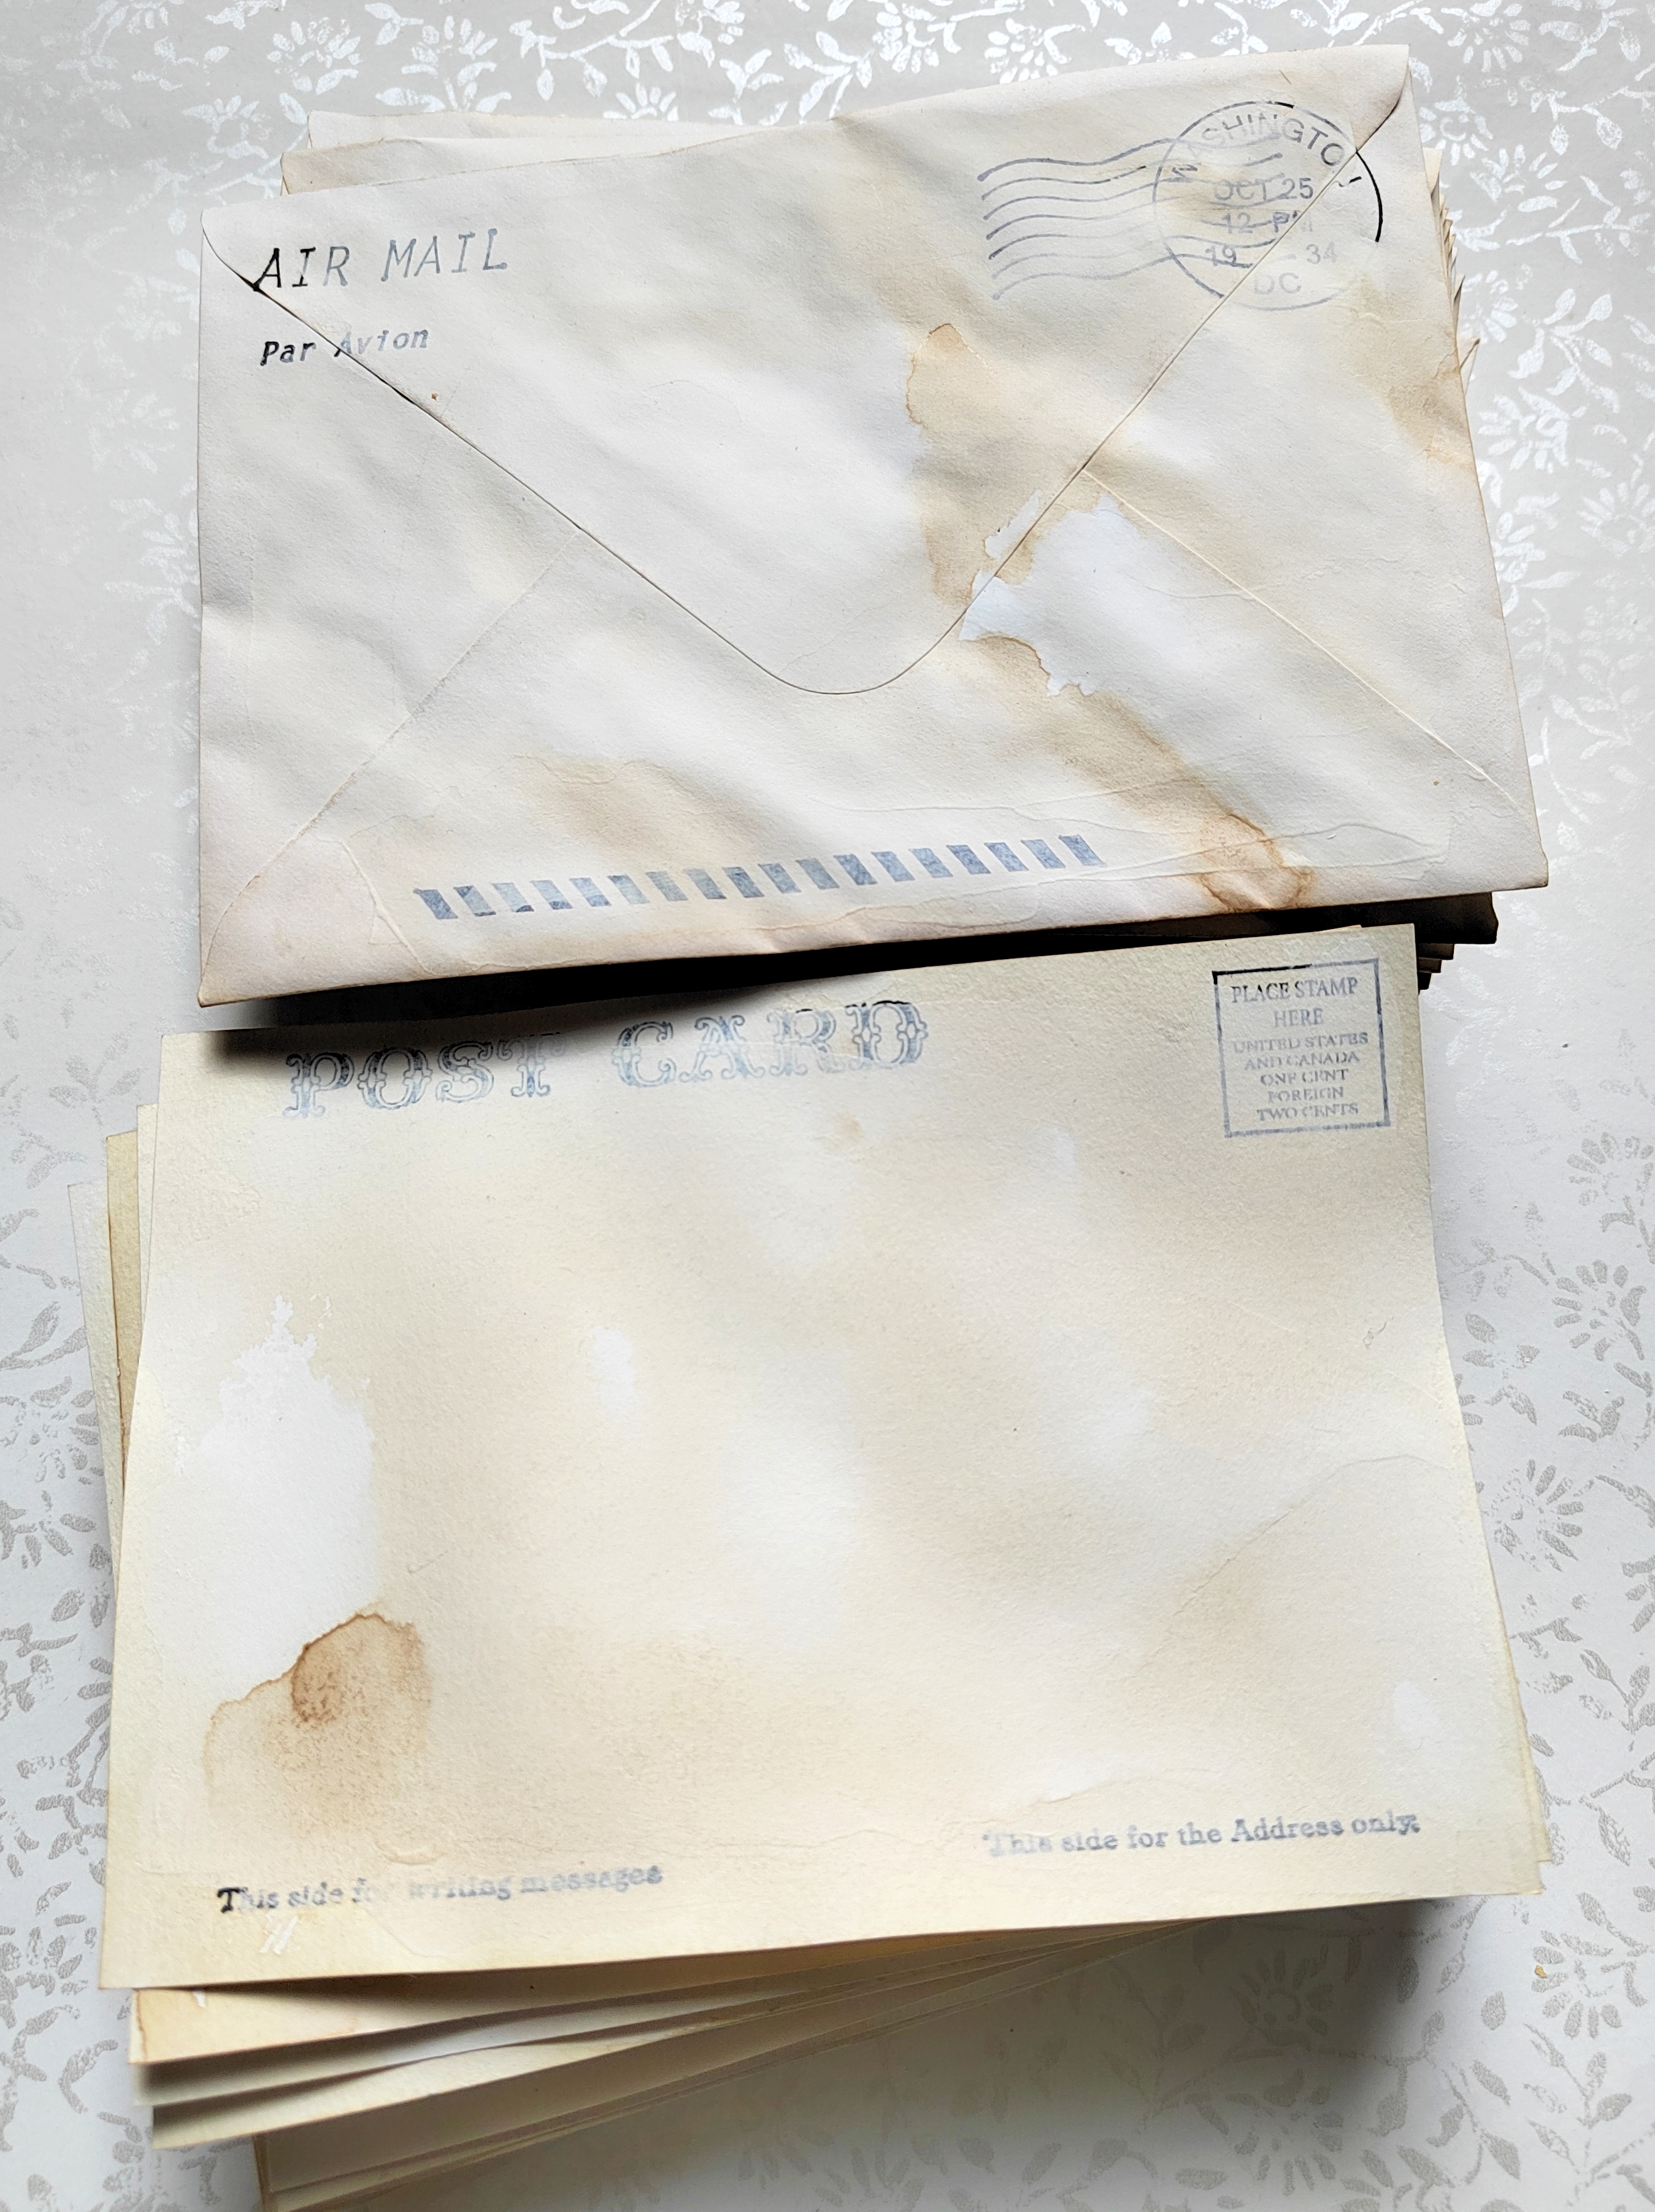
Inspired by Elizabeth Robinson's fantastic tutorial for stamped postcards and envelopes I set to work on batch-making some for future use using Eileen's Maker Forte 'Snail Mail Postage' stamp set.


To give them a vintage feel and prepare the base for other media I added gesso and some tea-staining to each one - this has the added benefit of plumping up the paper fibres to make each one feel a little more weighty.

Is there a point at which you realise you have a 'problem' with saving all those leftovers?!!!!

I did some experimenting with adding neutral scraps to the envelopes and postcards with some interesting results. My suggestion would be to keep it simple, sticking to a few larger contrasting pieces rather than lots of the smaller scraps as you can end up in danger of 'losing' the lower layer of stamping. It also works really well to mix up the textures - fabric, thicker wallpaper, book page bits, even embossed card would all work really well for this.


Taking the simpler envelope I decided to use the flowers and leaves dies from Eileen's Sizzix Thinlits 'Folio Page, Pocket & Flowers' die set in combination with the stem die from her Sizzix Thinlits 'Shadowbox Frames #1' die set to cut up more coloured scraps.


Here's the finished result, including a stitched border and additional white pen drawn around the larger inside petals; 


Rather than go with a similar colour scheme for the postcard I added different scraps to a second one and then got to work with more of the dies from Eileen's Sizzix Thinlits 'Shadowbox Frames #1' die set.


Here's the finished result, again including a stitched border;
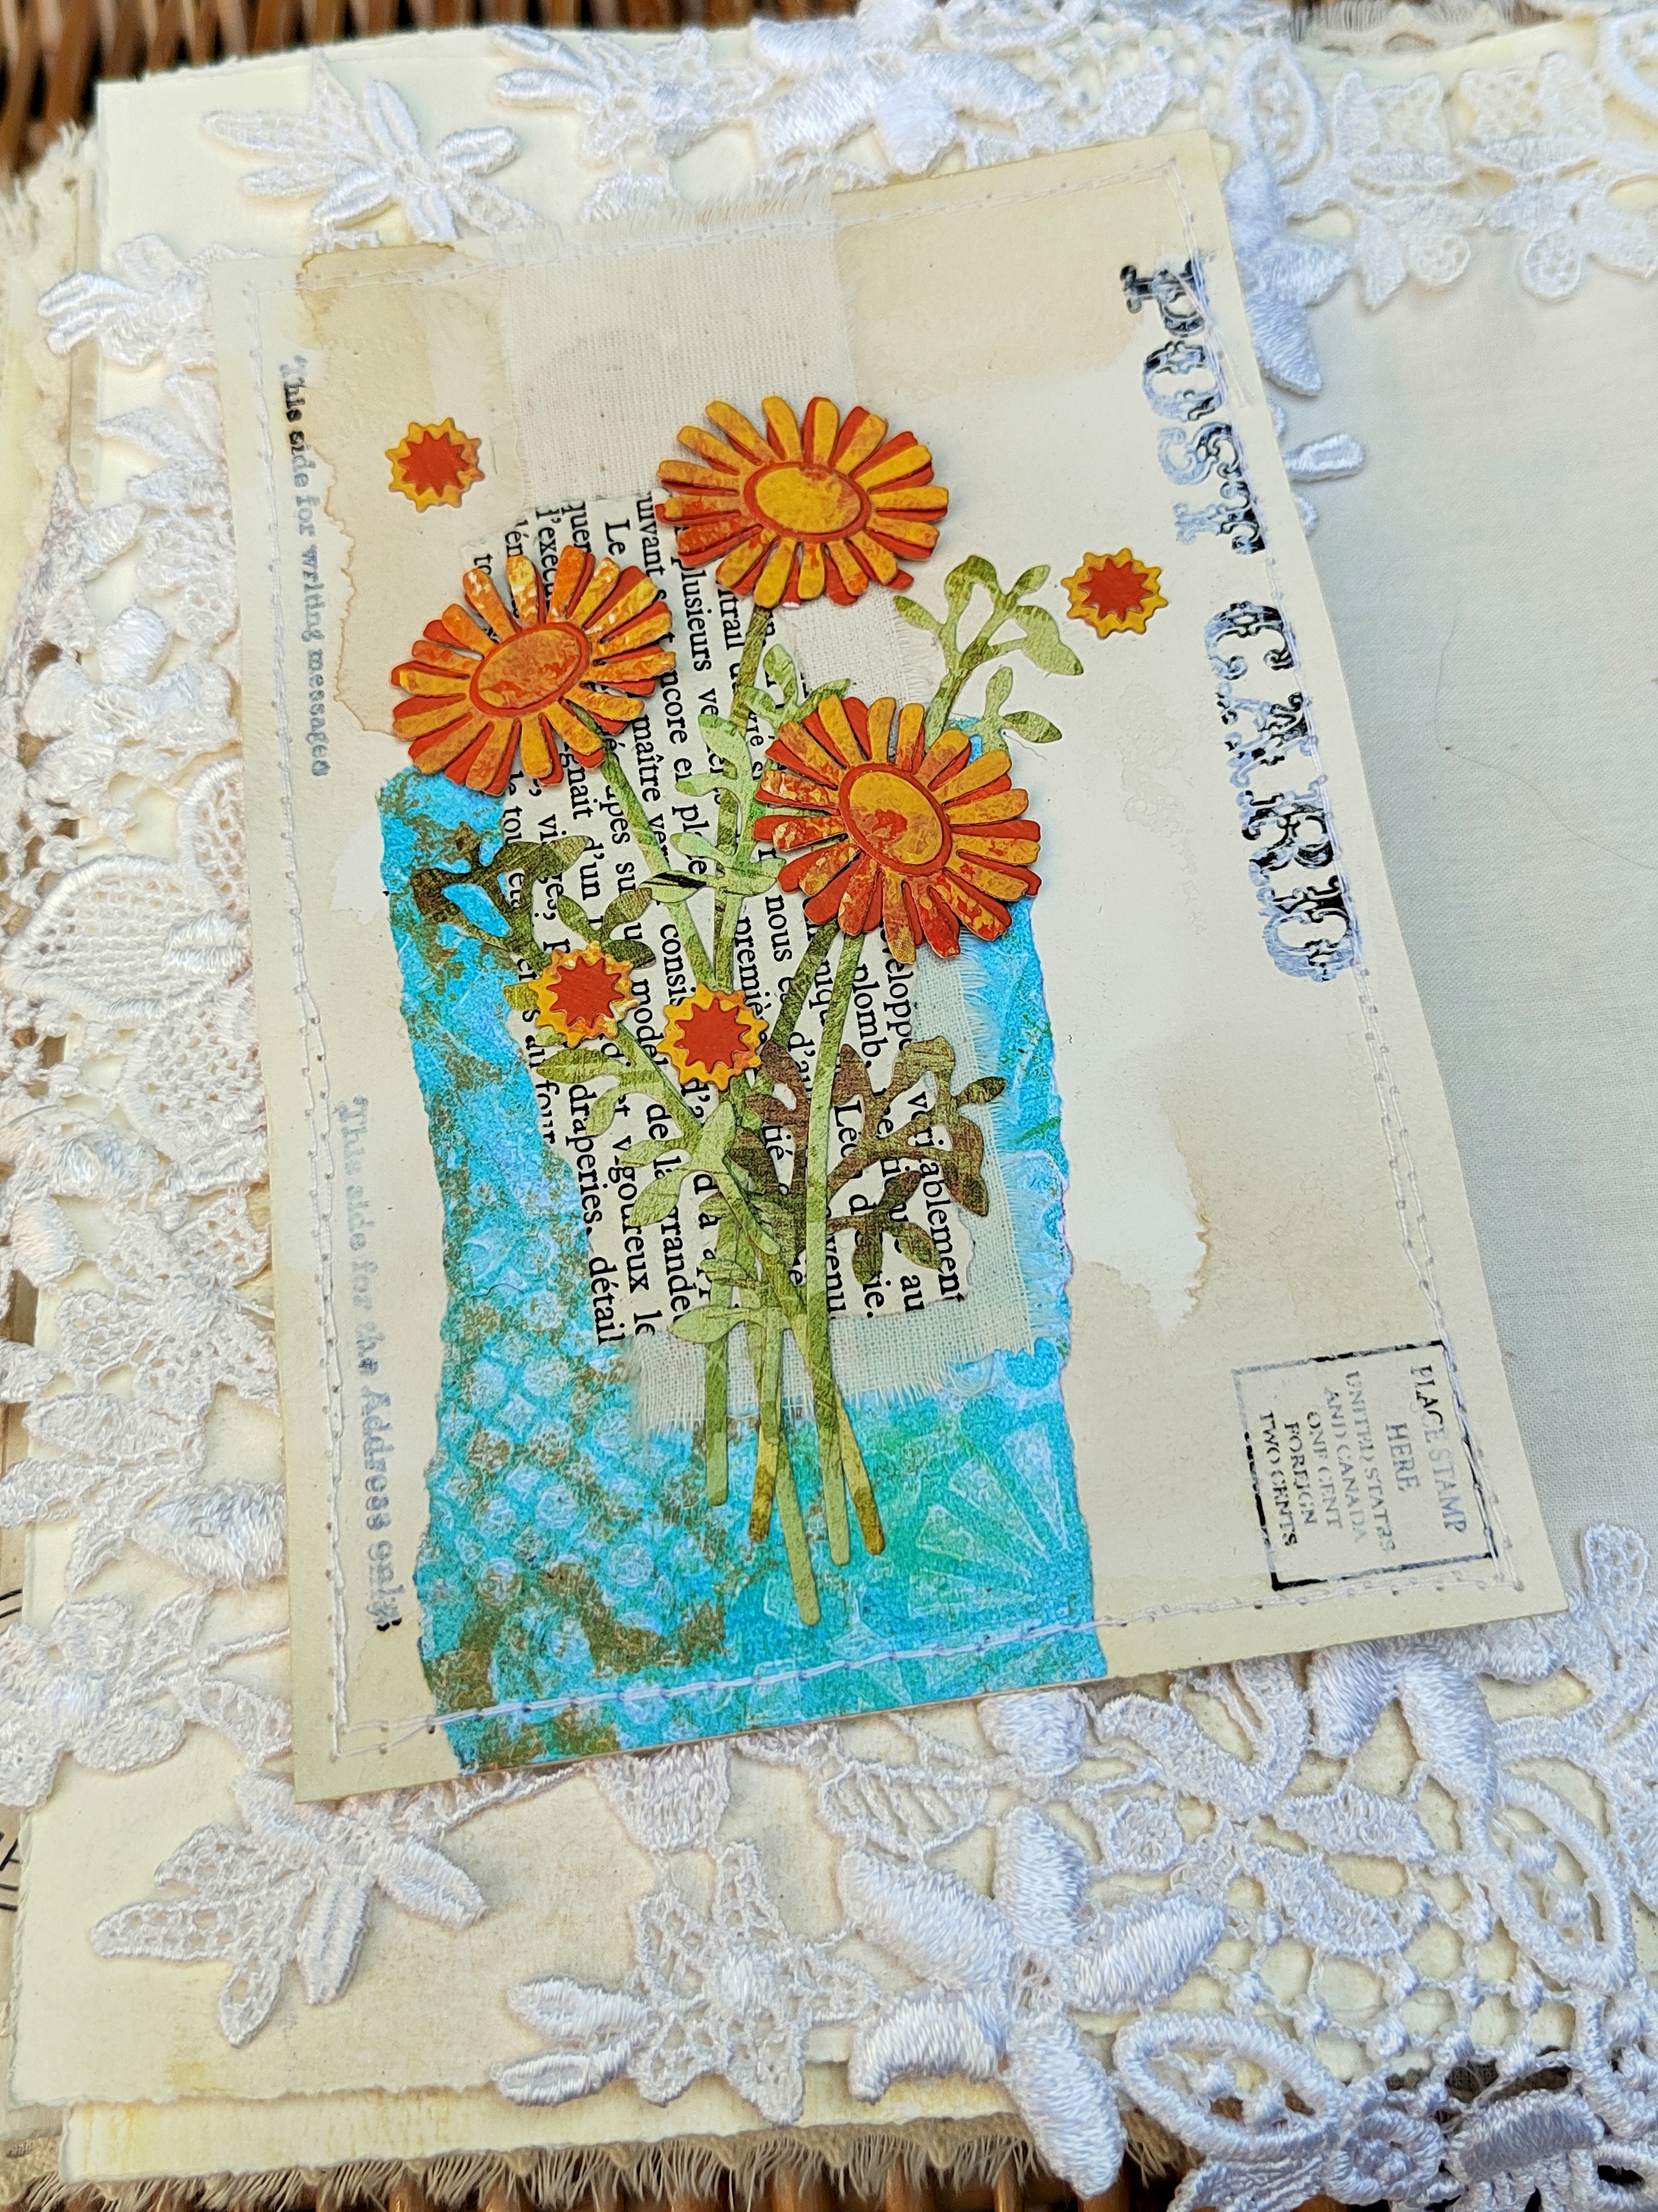


I may go back and add some hand-stitching and/or lace trims when putting these into my journal, but for now it feels good to have used up some scraps and been creative.

Thank you for joining me today. Make sure to check out all the fantastic projects and tutorials from the rest of Eileen's team members - links to their posts can be found on Eileen's blog throughout the month.

For now thanks for visiting,
Jenny xxx

17 May 2022

Birds in a Journal with Eileen Hull Designs

Hi everyone and welcome. Throughout the month of May Eileen Hull's teams are creating projects featuring birds, nests and eggs to celebrate the arrival of Spring. Last week I shared a tutorial for creating a tablet stand using Eileen's Sizzix Scoreboards 'Phone Stand' XL Die. This week it's time to dive back into my Eileen Hull Designs 'Full Size Journal' and have a go at drawing/painting some birds.


Starting with the first of the triple-page spreads there's some collaging using Eileen's Sizzix Thinlits 'Snail Mail' Dies, Maker Forte 'Snail Mail - Postage' and 'Buttons, Cards and More' Stamp Sets.


I've combined them with Rebekah Meier's TCW 'Mini Specimens' 6x6 Stencil, painting the butterflies with PaperArtsy Fresco Finish Chalk Acrylics.


Moving across the page there's a closed flap made from a tea-stained index card covered with Grafix Duralar Matte Film that has been embossed using Eileen's Sizzix 3D Textured Impressions 'Sweater' Embossing Folder.


On top I've popped one of my scrap clusters made using more Snail Mail stamps, die cuts and a bunch of leftovers.


As you open the flap the first of my hand-drawn/painted birds is revealed, created over a background layered with paint and Snail Mail stamping.


A close up shows how the Snail Mail die cut postage stamps have been painted and embossed with Eileen's Sizzix 3D Textured Impressions 'Crochet Mandala' Embossing Folder. The little twigs and leaves come from Eileen's Sizzix Thinlits 'Shadowbox Frames #1' Die Set, whilst the tiny flowers come from her Sizzix Thinlits 'Shadowbox Elements' Die Set.


Moving over to the back of the index card flap where I've stamped a sentiment from Eileen's Maker Forte 'Wonderful World of Flowers' Stamp set.


You can see more clearly from the close up how the Snail Mail stamping shows through the layers of paint in the background.


The second of the triple-page spreads starts with a flap made from a textured wallpaper offcut.


It has been embellished with another Snail Mail scrap cluster, Snail Mail die cut postage stamps and a button card from Eileen's Maker Forte 'Button Cards #2' Stamp set.


Opening this flap reveals another hand-drawn/painted bird once again created created over a background layered with paint and Snail Mail stamping.


As before the Snail Mail die cut postage stamps have been painted and embossed with Eileen's Sizzix 3D Textured Impressions 'Crochet Mandala' Embossing Folder. 


Moving across the page you'll see the opposite side of the middle page has been stencilled with the Rebekah Meier TCW 'Layered Wallpaper' 6x6 Stencil.


Finally here are a couple of video flip through's;


Thank you for joining me to see my bird journaling. Make sure to check out all the fantastic projects and tutorials from the rest of Eileen's team members - links to their posts can be found on Eileen's blog throughout the month.

For now thanks for visiting,
Jenny xxx

10 May 2022

Birds, Nests & Eggs - It's May with Eileen Hull Designs

Hi everyone and welcome. Throughout the month of May Eileen Hull's teams are creating projects featuring birds, nests and eggs to celebrate the arrival of Spring. I've got a super quick project to share with you for this one that uses Eileen's Sizzix Scoreboards 'Phone Stand' XL Die.

Anyone with a larger size tablet will know it can be tiresome to attempt propping it up when you want to watch one of Eileen's YouTube videos or browse her Etsy store. So here's a larger stand which will make supporting your tablet much easier.


To create your own begin by die cutting two of each of the phone stand die pieces from Sizzix Matboard or board/card of an equally sturdy weight - this needs to be sturdy to support the weight of your tablet. You will also need to cut a rectangular piece of board measuring 7 1/4" (18.5cm) wide by 5 1/2" (14cm) tall. I rounded off the corners of my rectangle but this is not essential. Placing the two main Phone Stand pieces side by side glue the rectangle over the top of the main stand section (as shown below).


Once the glue is dry turn the now joined stands over and attach a strip of board measuring 7 1/2" (19cm) wide by 1 1/2" (4cm) tall across the back, moving it roughly 1 1/2" (4cm) from the top of the stand (as shown below). Test it out before gluing in place as this can be adjusted upwards if you want the angle of the stand to be lowered.


If you are planning on pre-decorating your stand make sure to stick decorative papers to the board before cutting the pieces. Alternatively, while the stand is still flat decorate it now with paints, inks etc - I chose to use coordinate my finished stand with our living room decor so used some leftover paint.

Now fold up the stand along the score-lines, butting the two small flaps at the bottom against the strip of board and gluing onto the back of the stand. When dry flip the stand over to the front and slot the support strips into the bottom of the stand, gluing them in place. Then glue the extra folded strips over the top as shown below; I find it really helpful to run a line of glue along the score-lines to keep the folds in place.


Finish the stand by painting the bottom supports and adding a piece of decorative paper (or in this case wallpaper which conveniently features a bird) over the large rectangular piece on the front. And that's it done!


Here's the back showing how the strip of board at the top helps to support the stand.


As a guide my tablet is 9 1/2" (24.5cm) tall by 5 3/4" (15cm) wide and it will easily sit sideways so I can watch our favourite lady in action :)


Thank you for joining me to see how this extra large stand came together. Make sure to check out all the fantastic projects and tutorials from the rest of Eileen's team members - links to their posts can be found on Eileen's blog throughout the month.

For now thanks for visiting,
Jenny xxx

27 April 2022

Eileen Hull Designs and Maker Forte 'Making Plans'

Hi everyone and welcome. Today sees the release of a new set of rubber stamps from Eileen Hull Designs in collaboration with Maker Forte. Named 'Making Plans' it features a number of labels shapes with words and phrases sized to fit inside.


In case you missed it Eileen hosted a FB Live on 26th April where some of the team shared ideas for using the new stamps. For my part I have made a new journal using Eileen's Sizzix Scoreboards 'Box, Book' XL Die and added tabs for the pages using the new stamps.


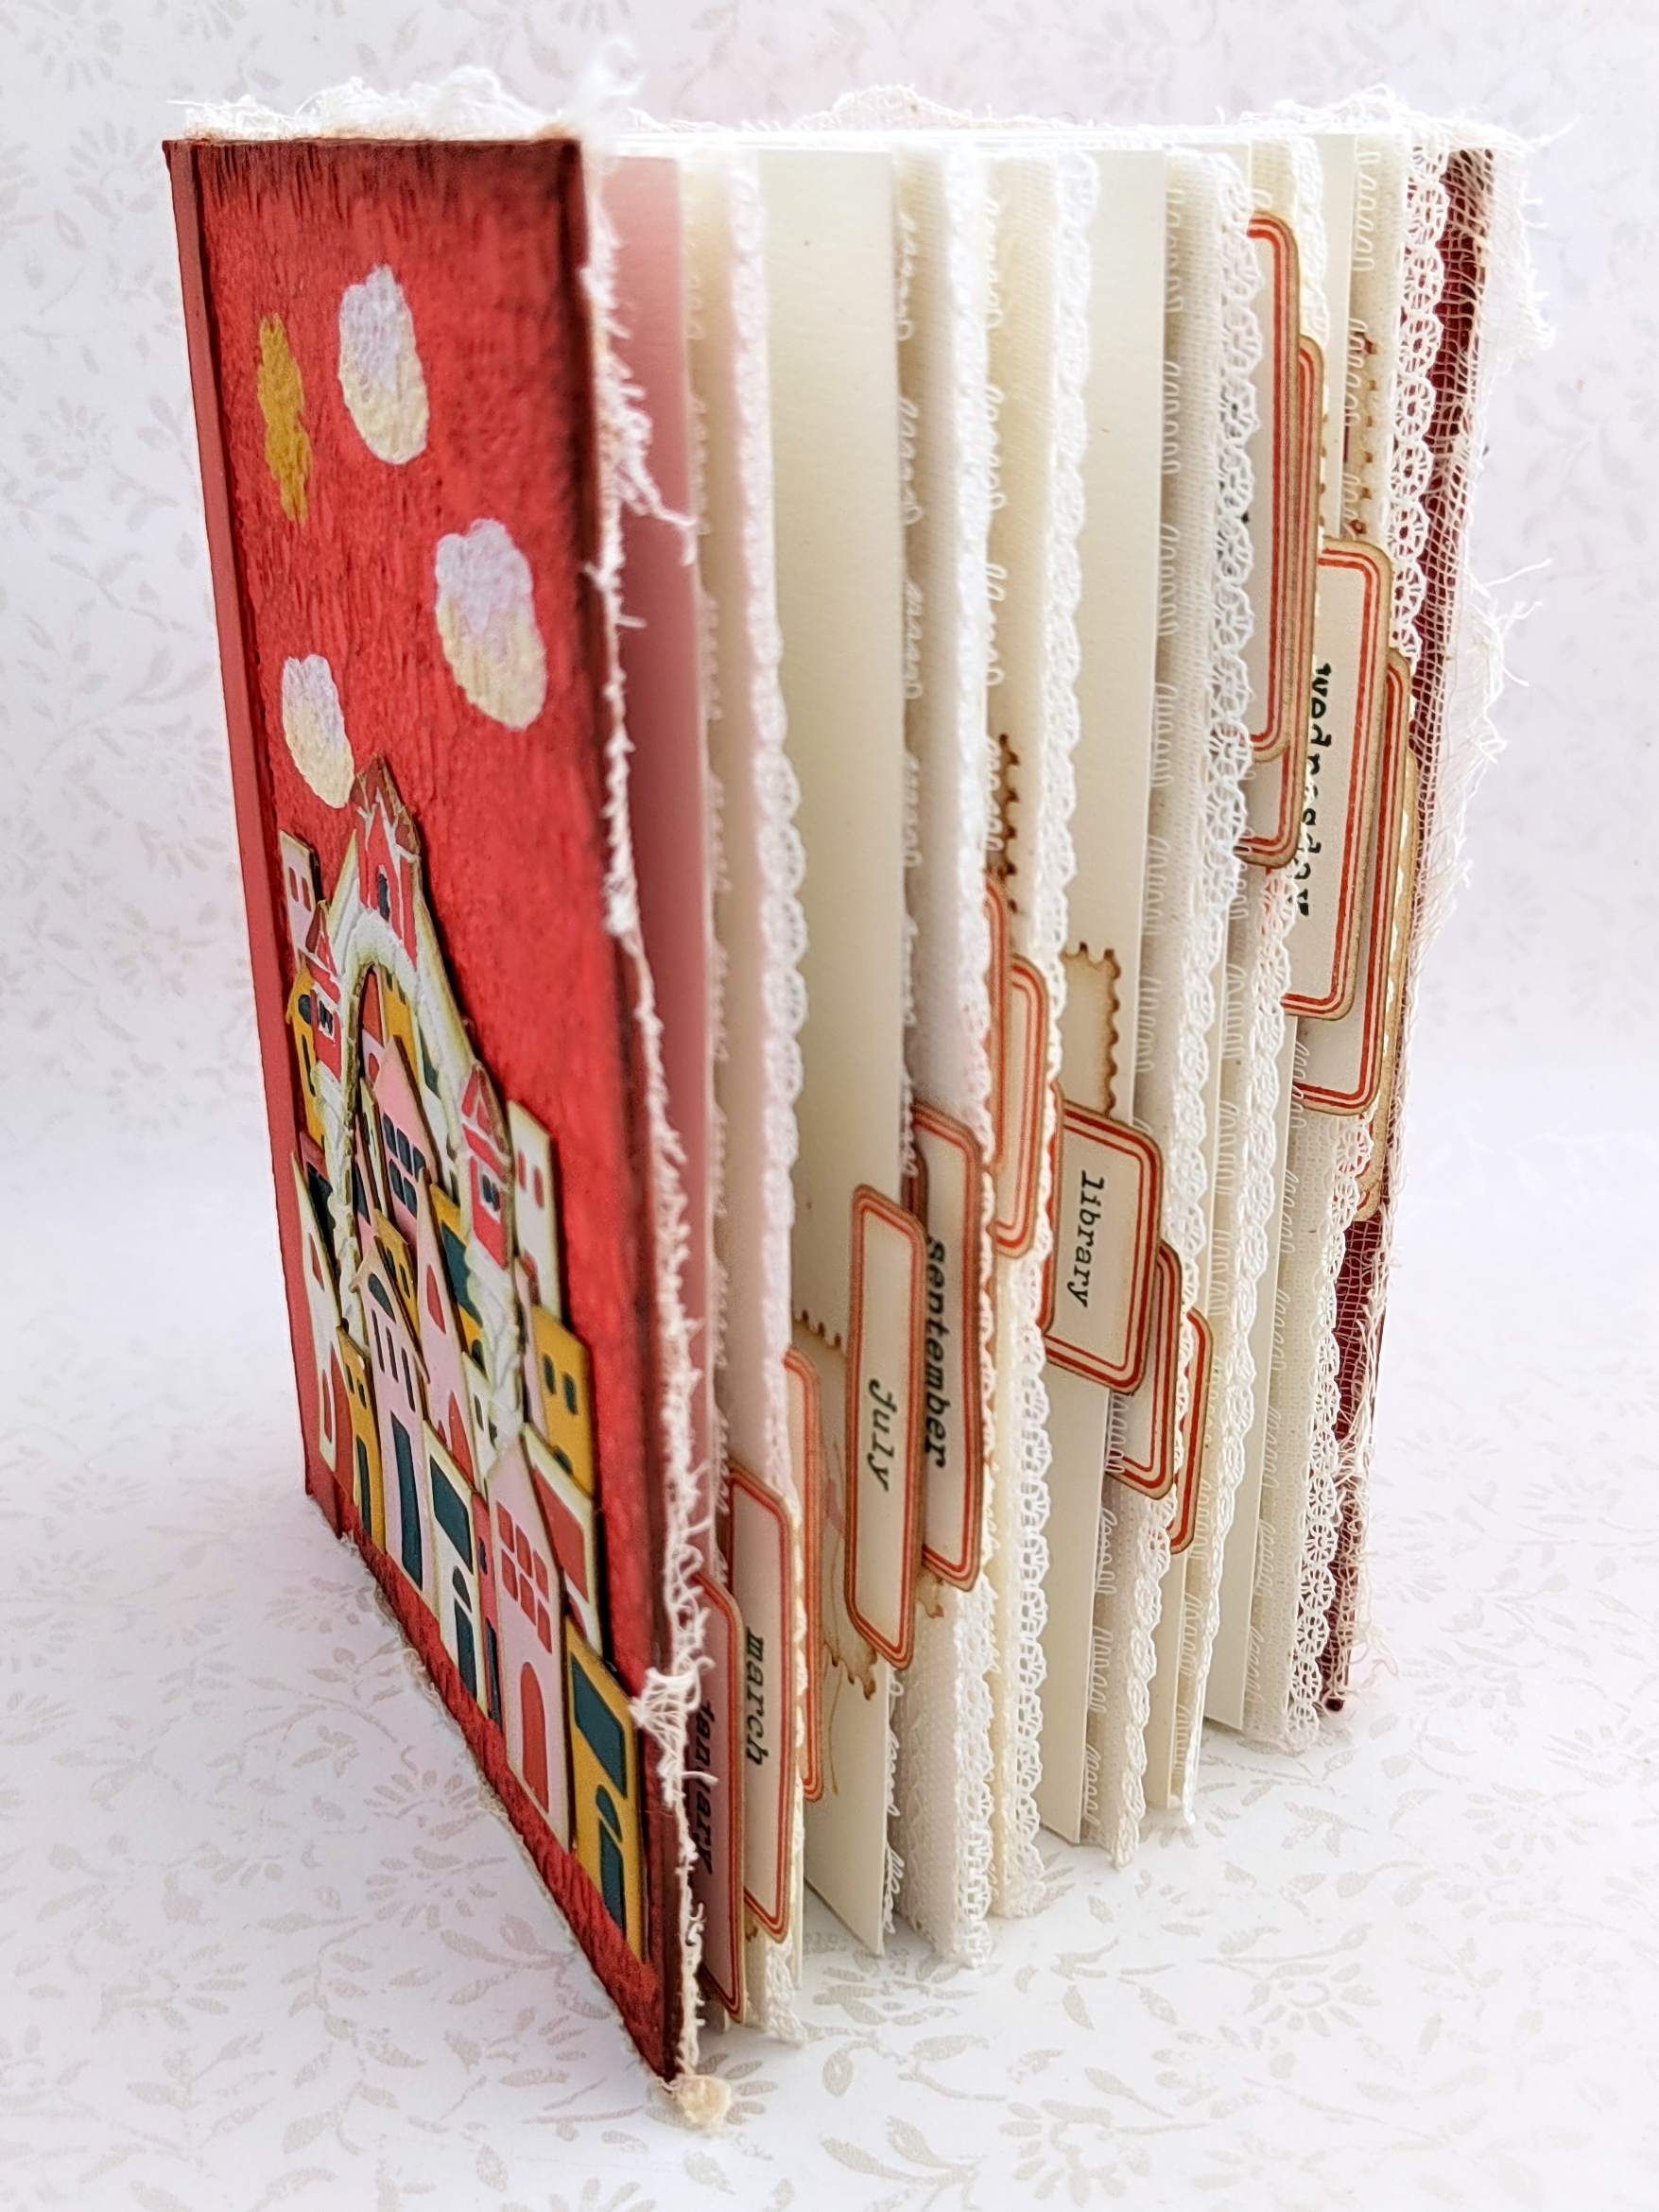
Here's how you can recreate this journal, starting with the covers which are cut using the Sizzix Scoreboards 'Box, Book' XL Die - you will need two of the large rectangular shapes (the box top and bottom) and a spine piece from matboard. Cover the rectangular pieces with paper embossed using Eileen's new Sizzix 3D Embossing Folder 'Crochet Mandala'. Once the glue is dry you can paint the front, back and spine and ink the edges with permanent brown ink.


To replicate the spine on the old 'Passport Book' punch holes at 1 inch, 3 1/4 inches and 5 1/2 inches as shown below.


Glue the covers to the spine along the two outer score-lines holding them together with clips until completely dry. You are now ready to fill your book with signatures and decorate it.


At this point I decided to change the colour to a salmon red, running a darker red permanent inkpad over the top of the Crochet Mandala covers to make the pattern stand out more.


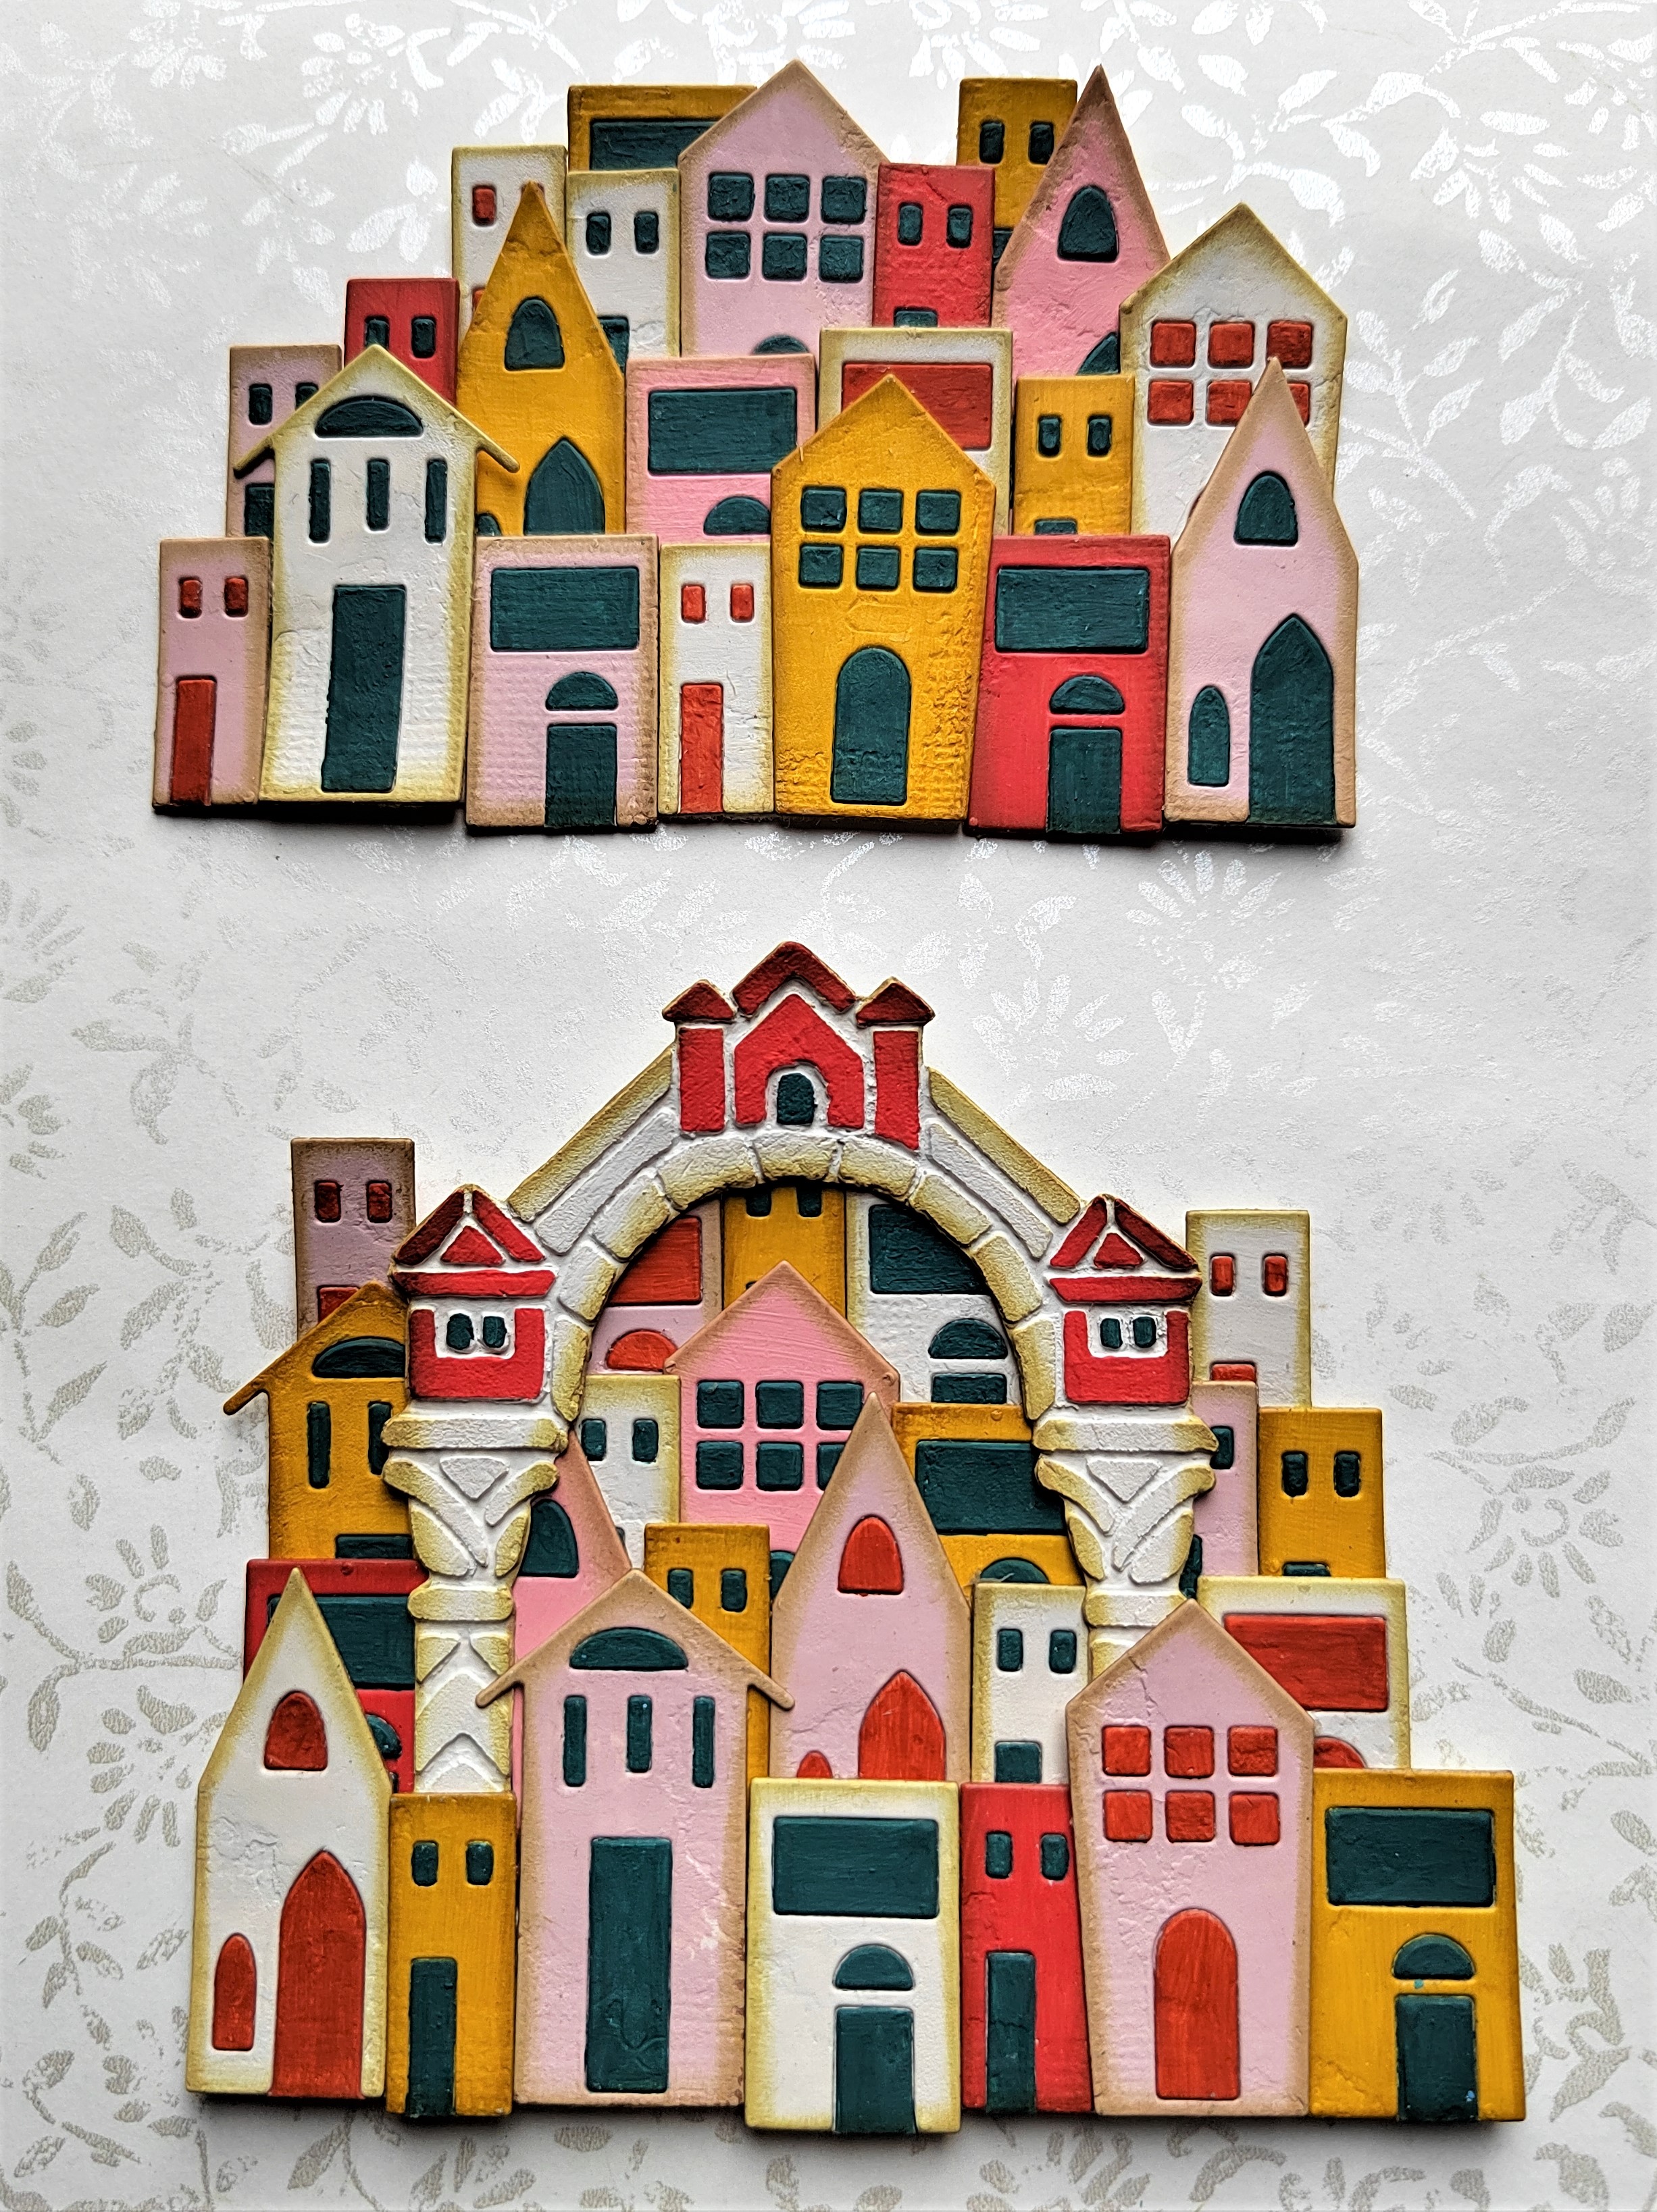
Die cut, paint and assemble the little houses using Eileen's Sizzix Thinlits 'Shadowbox Elements' Die Set. I replicated colours seen on the buildings of Italy's Cinque Terre.


I used one of the new PaperArtsy Hot Picks Mini Stencils to create an archway, pulling paste through it before painting the little houses to match the die cut ones.


Assemble your houses into little villages and glue together before adding them to the front and back covers of your journal.


To finish cut the cloud shape from the 'Shadowbox Elements' Die Set out of some clear plastic packaging to use as a stencil with some white and yellow paints. Then repeat the process using the large flower shape, using brighter yellow paint to create a sun.


I chose to glue some thin gauze to the inside of the entire cover at this point using a gel medium to help strengthen it and add texture to the finished journal. If you cut a piece that is slightly larger than the finished cover you can trim back the excess or leave the frayed edges exposed.


For the signatures cut and fold in half six sheets of paper measuring 10 inches wide by 6 1/2 inches long, folding them in half and repeating to make three sets. Punch holes through the signatures along the fold lines using the holes in the spine as a guide. Then tie the signatures into the spine through the holes using strong thread or thin yarn.


Once the signatures are tied in tear some of the pages so they are of uneven widths before trimming with the torn strips (embossed with the 'Crochet Mandala' Embossing Folder) and some lace. I then stamped labels and added words using Eileen's 'Making Plans' Stamp Set to stick onto the edges of the pages.


These are just a few of the 36 finished pages - you'll see I also used Eileen's Sizzix Thinlits 'Snail Mail' Die Set to cut stamp shapes and stamped on them using images from her 'Snail Mail Postage' Stamp Set. The pages coordinate more if you use inks that match the colours on the journal cover.


I hope you've enjoyed seeing how Eileen's new stamps can be used to embellish and enhance your books and journals. Make sure to check out all the fantastic projects and tutorials from the rest of Eileen's team members - links to their posts can be found over on Eileen's blog.

For now thanks for visiting,
Jenny xxx
Related Posts Plugin for WordPress, Blogger...