28 June 2013

A Happy Stripy Accident

Hi everyone and a very happy Friday. It's been a frenetic week culminating in DH's birthday today - he also FINALLY got his promotion confirmed too, so that's a pressie he will really be celebrating (when time allows). A nice restful weekend would be SO welcome right now, but the eldest needs taking on a round trip to Leeds tomorrow to find out more about uni courses (many happy hours to be spent in the car on the motorway -whoop, whoop!) Then there's some ferrying around to do on Sunday too. No rest for the wicked...


Anyway, having worked hard on perfecting hubby's birthday card earlier in the week I decided to just play with this one and got some unexpected results.


So my Wendy Vecchi paste arrived with some of her superb stencils, including this striped border, and I decided to rework an idea used a long time ago
(with debatable results the first time round).


First time round I dripped acrylic paints down card, but it was rather thick and difficult to control. This time a runnier medium was required, but first a base.


I started with chipboard and covered it in layers of gesso, Picket Fence Distress Paint, and Picket Fence Crackle Paint. Then came the texture paste - it has the consistency of whipped double cream and goes on like a dream.


That provided the perfect base for running alcohol inks and blending solution through. They bled beautifully and seeped into all the cracks. But wait, there's more!


Purely by accident I discovered that if you then use a craft tool (ok, ok, my finger:) to rub a touch of water over the surface it becomes chalky and shabby chic looking courtesy of the various Picket Fence layers underneath.


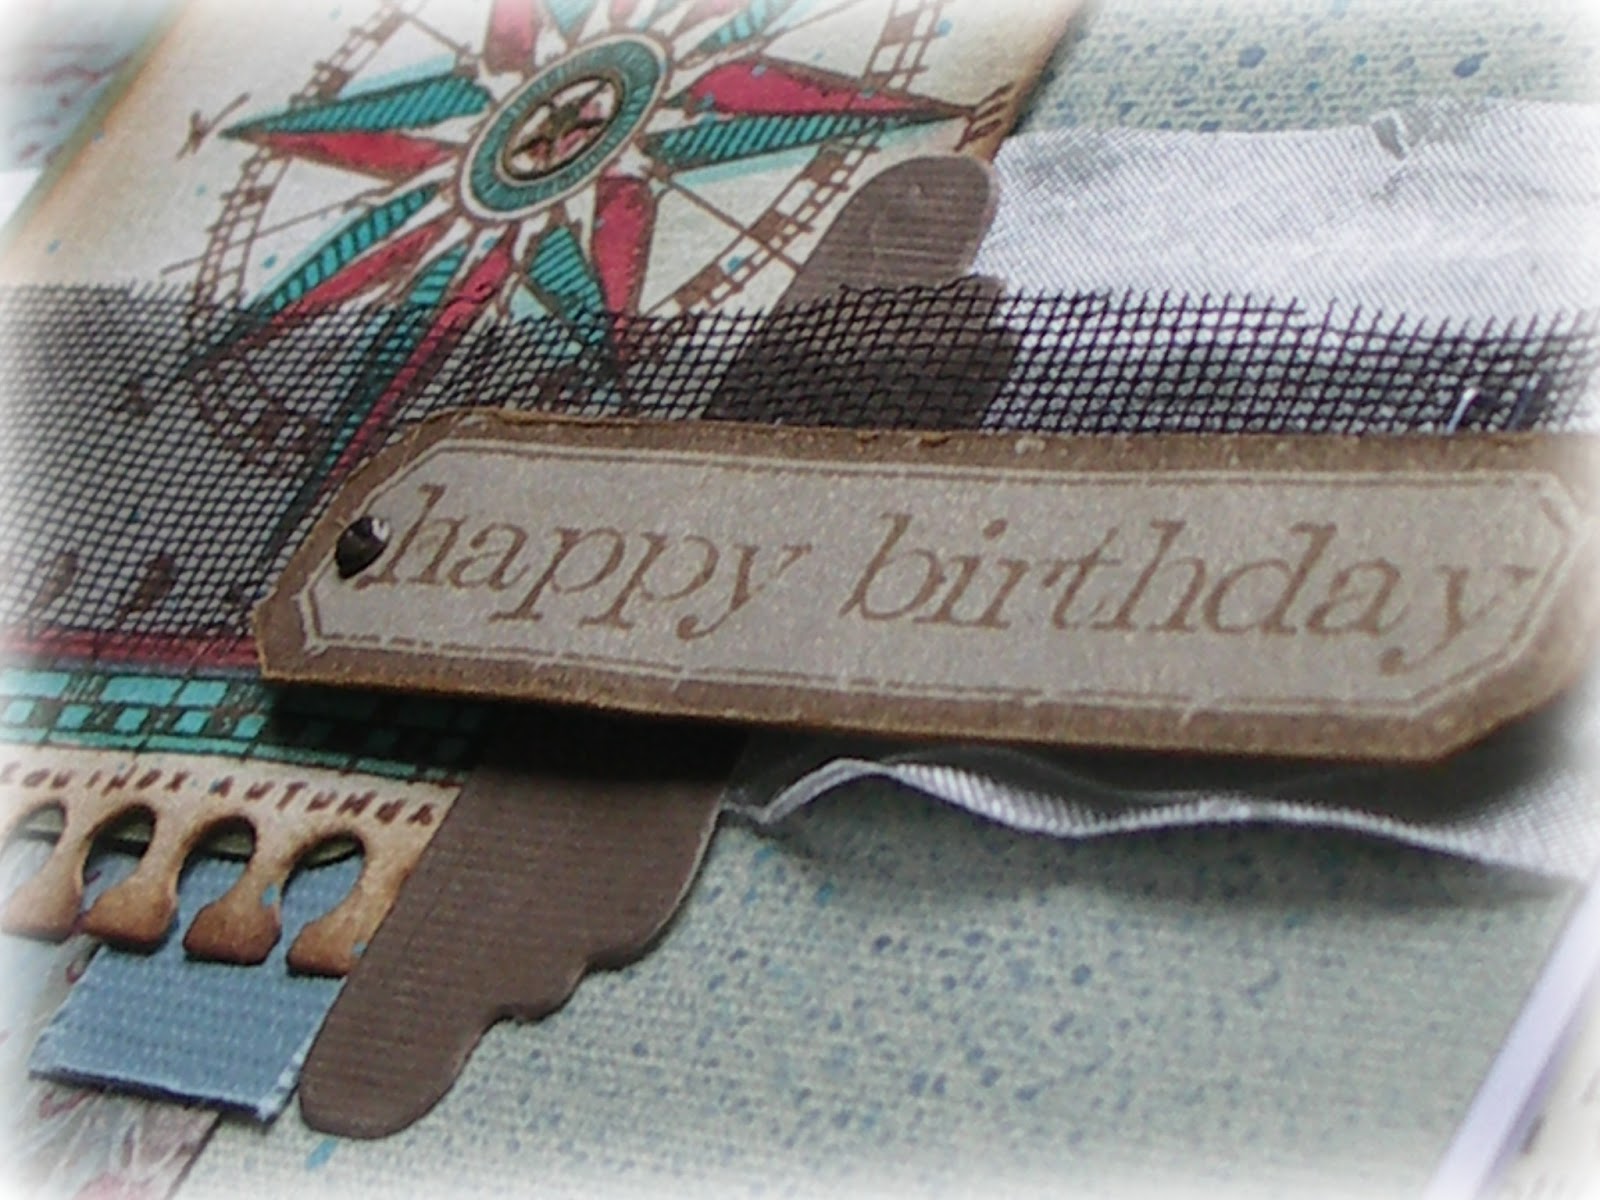
With so much going on in the background little was needed to embellish this card. A time traveller gentleman coloured with Distress Stains, some of those new rub ons, a simple sentiment and a 'watch chain' worked a treat. Oh, and I added a layer of matte Glue n Seal over the background to ensure the rub ons remained fixed in place.


And so to challenges;
(sponsored by Simon Says Stamp)
(sponsored by Flonzcraft)
(sponsored by The Artistic Stamper)

Now, it's time to shuffle off to my bed to prepare for a ton of driving tomorrow before we can all celebrate in more style in the evening. I hope you are all going to get a far more relaxing weekend and get time out for yourselves if you need it.
Take care of yourselves, hugs Jenny xxx

26 June 2013

Old Masters Venetian Style

Hi everyone. Back again! Wednesday's always seem to be so busy. My return is prompted by the need to post some cards made with stunning digital pictures from Nicecrane Designs. You know I'm obsessed with Italy/Venice at the moment. Well the owner of this fabulous digital image emporium, Ignacio, was an utter angel and sourced some vintage images of Venice. He has now put them into two sets for you to play and create with too (click on each image for the shop link).

Venetian Paintings CS 1 - Click Image to Close
Venetian Paintings CS 2 - Click Image to Close


The beauty of these is that they are detailed and clear enough that you can use parts of them if you want (as I have done in the cards below).


I loved the idea of using the paintings in polaroid frames - well paintings were the 18th Century versions of holiday photos for those on the 'Grand Tour' you know!!


You see what I mean about the clarity and detail of these images? And this is under a layer of clear EP too.


Piles of die cuts using textured CS and some of my own creation.


Oh happy days - it all coordinates beautifully with the Stampers Anonymous Classics #2 set.


The second card - slightly different colours used to work with the greener tones within the image but the design worked so I went with it.


And more close ups so you can see the detail.


The beauty of these images is they are (to use Son 1's expression) 'gender non-specific, so one of these is for a male and another for a female, but it would be rude to tell you who is the older:)


I really hope you like these images and consider using them for your projects too. Just thought - in case the picture links don't work I'll put them at the end of this too. Time to leave you in peace and let you enjoy the rest of Wednesday. Take care of yourselves, hugs Jenny xxx


WOYWW 212

Hi everyone and welcome to my WOYWW post for today. If you want to know what I'm on about hop over here to the Stamping Ground where the fabulous Julia Dunnit explains it all far better than me. Let's start the whole thing by saying congratulations to the newly married Morti. What superb outfits/bouquets you had for your big day, and I'm so pleased it all went well.


I can show you the view from one of my work perches as this is a work in progress (or should I say salvage as it's a background that initially went horribly wrong!) not tied to a DT sample. I've also got a pile of embossed/painted/inked CS on the left ready to be die cut or messed with further depending on what's required. I also need to show you two more items of happy mail...


A huge thank you to the lovely Michelle Reed for your elegant ATC and coordinating thank you card (left) and another huge thank you to Deeyll aka Queen Lightwell for the fantastic purple ATC with its little envelope and knitted flower (right). I feel so lucky to have been sent these by two wonderful crafters from across the pond.

OK, time to skidaddle. There's another post to publish, blogs to visit and a few more birthday cards to complete. I could do with a second pair of hands right now!!
Take care of yourselves, hugs Jenny x

25 June 2013

June Tag Time

Hi everyone and thank you for such a positive response to yesterday's post at Frilly and Funkie. Here's the card which started it all, created and inspired completely by Tim Holtz' June Tag.


I followed Tim's instructions with the added twist of beginning the background with a stencilled base of Distress Paint Picket Fence.


I love that the unpainted areas really soaked up the paint/stain/ink to appear even darker to add some more contrast to the whole background.


The Wild Honey and Faded Jeans Distress Markers blended really well with the extra water and a touch of Rusty Hinge added an extra pop of colour. I think it's difficult to pick up here but the background was lightly splattered with Salty Ocean DP.


It made such a difference using a heavyweight watercolour paper. I also used black EP for the outline and Glossy Accents on the wings to give some more dimension to my dragonfly as I needed to keep this card relatively plain (for me anyway!)


How did I manage before Simple Sayings?! OK, as well as adding this to
I'm also entering Hels Sheridan's
Take care everyone, hugs Jenny x


24 June 2013

Friday Focus (Part 2) Distress


As promised I'm back over at Frilly and Funkie with an extra Friday Focus post to celebrate the extra discount on all individual Distress products over at The Funkie Junkie Boutique. It would be lovely if you could hop on over and take a look at my extra twist on Tim Holtz's June tag tutorial. See his original HERE if you haven't already done so.
Have a great week and take care of yourselves, hugs Jenny x

22 June 2013

Continuing on the voyage

Hi everyone. A quickie from me as the deadline for Hels Sheridan's current Sunday Stamper challenge - My Guy fast approaches. Plus (as I've used some new dies) this is going into the latest Fashionable Stamping Challenge - Show us Something New and this month The Artistic Stamper Creative Team challenge is Makes for Men. So here goes...


I'm currently playing with the ideas that have come from Tim's June tag (and yes, mine's done and will be on view very soon). Plus I've got hold of two new sets of Spellbinders Page Maps Shapeabilities dies which have very quickly become my 'go to' sets for matting and layering.


Part of the reason for a lot of this experimentation is that Linda Coughlin has given all the individual Distress products an extra discount over at The Funkie Junkie Boutique so they are at a ridiculously low price for one week only. To celebrate I'm going to do an extra 'Friday Focus' post this coming Monday at Frilly and Funkie with an added twist to Tim's background method (his fantastic version is HERE).


What I love about Distress products is that they are great to use on their own but go off onto another level when mixed; paints and inks on top of stains is a combo truly made in heaven for the amount of dimension it gives to a plain piece of cardstock.


And then you can add reinkers to the mix for even more fun! It doesn't take too much in the way of extras to  complete a project. There are so many colours too, and I suspect it will take me a long time to try out every combination of colours
(it'll be fun to do though!)


So as a busy birthday time in the family and with friends is now upon me it is maybe just as well I'm having a ball coming up with lots of cards. Please check out The Funkie Junkie Boutique's current discounts so you can add to your Distress collection at a bargain price. Thanks for dropping by. Hopefully I'll see you again very soon, and in the meantime take care of yourselves. Hugs, Jenny x 

21 June 2013

Friday Focus - Distress Stains


Hi everyone and happy Friday!! It's my turn for the Friday Focus over at Frilly and Funkie. And Linda has some fantastic news for you about her choice of discounts for the coming week. I'd love you to head on over to see more and start your weekend early. Have a fabulous one, hugs Jenny x

19 June 2013

Krafty Bird's Nest

Hi everyone and thank you for visiting. There were so many lovely comments for my last post and it seems to have hit a chord with many of you. Here's hoping we all learn to be kinder to ourselves. Now, it's time for the latest DT sample for Frilly and Funkie who are currently running a 'Birds and Nests' challenge.


It's another shabby chic card with tons of krafty texture and oodles of yummy ingredients from The Funkie Junkie Boutique (listed below). I'm going to let the pictures do the majority of the talking today you'll be pleased to hear, so if there are any questions just leave a comment and I'll respond asap.


A touch of colour injected by misting this embossed 'postcard' with red/blue/green inks. Make your own by adding a few drops of reinker to water in a small misting bottle. These can be picked up really cheaply in chemists at the moment as travel size toiletry items.


I love how this crinoline looks as a background, especially when painted, stamped and stencilled with texture paste. Want to see how I added the paint?


This is my own 'stamp' made from a sheet of burlap cloth (Linda is now selling white/natural versions which will do the same job). I stuck some to a piece of MDF and just pounce paint directly onto it - you can spritz it with water or your diluted inks and even add inks/stains directly too.


Aren't these large wooden buttons fabulous! Ideal for layering/nesting vellum, burlap and beads - all of which readily accepted being covered in Distress Paint.


The glass bead gel medium was spread randomly onto card which was then torn to shape when dry. The back of the card was Distress Stained and the front had some Picket Fence DP applied.


I do love layering lots of textures and (woo hoo!) got a chance to play with my new Tattered Florals strip die which combines well with other floral dies. Before cutting the burlap I covered one side with a sheet of adhesive (my guess is the Xyron would be good for this if you have one).


I find that embossing with a mixture of clear EP and Distress EP allows the layers to show through.


Forgot to say, the crinoline loves being inked and thankfully doesn't 'bleed' either.


Hope you like my interpretation of this theme. I would love to see your take - there's still a week left of the current challenge, so take a look at the inspirational projects from my teamies here and then get crafting! There is a shopping spree up for grabs for one lucky entrant too!
For now, take care of yourselves, hugs Jenny x

PS. I've taken the advice from my lovely blogging friend Sandra and decided to enter this into the current Simon Says Stamp and Show challenge - kraft. Thanks Sandra xx


Related Posts Plugin for WordPress, Blogger...