30 April 2014

On The Runway at Frilly and Funkie

Hi everyone. It's the second week of the current Frilly and Funkie challenge 'On The Runway' and our host Cec is looking for vintage or shabby chic projects that depict sewing and/or fashion.


To be honest, as a DT member I'm supposed to provide you with inspiration and ideas. I took one look at the incredible projects our Frilly team created and thought "Well they've nailed those paper projects and hangings, what can I do?!!!"


And then I remembered the wonderful Amy Bowerman had sent me an Eileen Hull Heart Bag sample. Hallelujah!!!


The bag was cut from board to make it sturdy and that meant once constructed I could go to town with altering the surface. Firstly a layer of Sticky Back Canvas, then stencilled Translucent Paste, and finally a coat of Distress Paint inside and out.


'Vintage' head firmly on I went with a 'faux damask' look, stamping the birds nest onto single ply tissue with Archival Ink before adding it to the textured surface with matte glue. I used the 'Bird Feather' stamp set but have a feeling the smaller 'Nature Walk' one would work really well for this too.


Now for the trimmings to make this worthy of a glamorous night out. Venise lace, of course, applied carefully around the top of the bag to ensure it curled outwards rather than inwards for easier access to the interior.


DIY stores are great for getting chain link by the metre inexpensively and I remember seeing some evening bags from my late grandmother that had chain straps to them so this felt like the right way to go.


I finished the look with matching metal floral corners on both sides and some dyed seam binding double bows on the strap.


So there you have it. A bag fit for a night out at the Ritz just perfect for holding those touch up tools we girls need. Need some more inspiration? Head over to the Frilly and Funkie challenge blog to see what the others have created and then let's see what you can do. There's a guest designer spot and a $25 shopping spree at The Funkie Junkie Boutique up for grabs!! See you there.

Take care of yourselves, Jenny xxx


27 April 2014

Compendium of Curiosities 3 Challenge 1

Hi everyone. Well I've crawled out from under a pile of samples to share a new card and news of honours bestowed on me recently. First up the honours; well you could have knocked me over with a feather when I was awarded a Blogworthy Link from the one and only Tim Holtz for my Olympic take on his March tags! One of the most exciting and wonderful things about this was the fact that I was listed alongside so many of my fellow crafting friends and team mates. Huge congratulations to all of you!


Then my BFF Anne let me know that we'd both been listed as Top 3 winners over at Eileen Hull's Art With Heart challenge for our April Showers projects. We are both huge fans of her Artist Trading Blocks (as you may have realised recently!!) and I felt so incredibly honoured to have been picked out for my Spring Flowers box alongside Anne and our fellow Top 3 winner, Lucyana. If you haven't seen their projects yet please do.


And Anne was also kind enough to let me know she'd already received her copy of June's Craft Stamper magazine, and I'm in it again!! It is such a massive buzz to see my work published in such a well respected magazine.

And now for that card I promised you...


This one's for me - I made it for fun and because there was no way I was going to miss the start of Linda Ledbetter's latest Tim Holtz challenge Compendium of Curiosities 3 challenge. Based on Tim's latest book and sponsored on alternate weeks by Inspiration Emporium and The Funkie Junkie Boutique, Tim and Mario themselves have also added to the prizes too. And if that's not enough you want to see the line up of talent Linda has arranged to form her Curiosity Crew; seriously, it's like a who's who of the great and the good in the industry many of whom are my absolute idols! Head on over to the Compendium of Curiosities 3 challenge to find out more.


Each fortnight the challenge looks at a technique in Tim's new book, and this week it's the turn of Paint Marbling with the challenge sponsored by Inspiration Emporium. I had great fun marbling two sets of card which would contrast and compliment each other. Having stamped the bird's nest on the red version I tore into it to create this organic 'spidery' shape, and then the inks came out to play to emphasise and embellish the marbling.


You just might see where I stamped the large bird feather underneath the red layer before adhering it. Some gel pen doodling added to the drama of the web. Then it was down to the embellishing part. I stamped/embossed those beautiful lacy leaves onto a matching piece of pale brown paint marbled card, used the paint/ink distressed grunge paper technique from Tim's current tag challenge on the key and added some inked die cuts.


From this angle you'll spy the rub and industrious arrows; gotta say arrows are becoming a mini addiction (as if I needed any more!) as they really help to add movement and structure. Can't wait to get my mits on that arrows Frameworks die :)


I had a ball making this card for the Compendium of Curiosities 3 challenge and look forward to the coming chapters.
Why not head on over yourselves and join in the fun.

For now take care of yourselves, Jenny xxx

21 April 2014

Words are all you need at IndigoBlu

Hi everyone and welcome. It's challenge time at IndigoBlu and the theme for this month is 'Words are all you need'.


I have always loved this IndigoBlu sentiment (you may have seen it somewhere else from me this month... :) and took it as the focal point of this card as I find 'words are all you need' to get your mojo working sometimes. Using Archival Ink ensures a crisp image from the stamp and Distress Stains gave the sentiment panel a shabby chic feel.


Taking the words literally I used the fabulous Clock Face Stencil with Archival Ink over a background of White Gee-Sso Good and Park Lane English Cottage Artists Acrylic Paint. These dry beautifully matte and are the perfect base for layering over other inks and sprays.


The Black and White Gee-Sso Good are also perfect for adding splatters and lines to add to the grungy, aged feel and frame the card. I also used the cogs and gears stamp from the same 'Take The Time' set, again with Archival Ink.


Don't you just love those daisies? I used a couple of the Alter Egos, painting them with Gold and Pantry White English Cottage Artists Acrylic Paint.
If you use thick brush strokes to layer on the petals and then heat on a high setting with your heat gun the paint bubbles up and texturises to give them even more definition.


Some vellum die cut leaves and a matting layer completed the card and helped to draw the eye onto the fabulous sentiment.


Please do pop over to the new IndigoBlu challenge to see what the design team have been up to, as they have worked hard to provide you with even more inspiration. And remember, a prize awaits the winner of the challenge this and every month, so what are you waiting for?

Thanks for joining me this Easter Monday and take care of yourselves, Jenny xxx

Links to IndigoBlu;

18 April 2014

Distress Paints at Frilly and Funkie


Hi everyone. My second post of the day, and this one's a link to my Friday Focus tutorial over at Frilly and Funkie. I hope you can join me there.

Have a great Easter weekend and take care of yourselves, Jenny xxx

Spring Flowers at A Vintage Journey

Hi everyone and welcome on this Friday morning. This is the first post of the day for me and it's for the next challenge at A Vintage Journey. Jennie (Live The Dream) is our host and as many of you will know she has a passion for paper flowers. With that in mind here's her challenge theme;

"As (hopefully) spring will be in the air by this time, let’s see your makes adorned with spring flowers - you might want to use stamps, handmade flowers from dies, ideology blooms or bought blooms as long as they have been stamped, made or altered using a Tim technique or product. They don’t have to be actual spring flowers, but just the colours of spring."


Apart from an all consuming love for anything Tim I'm also completely hooked on Artist Trading Blocks (ATB's) and they make the perfect vehicle on which to display handmade flowers.


Inspired by Tim's Junk Bonanza trip I went down the route of wild Spring flowers 're-greening' a discarded collection of bottle tops and rusted trellis.


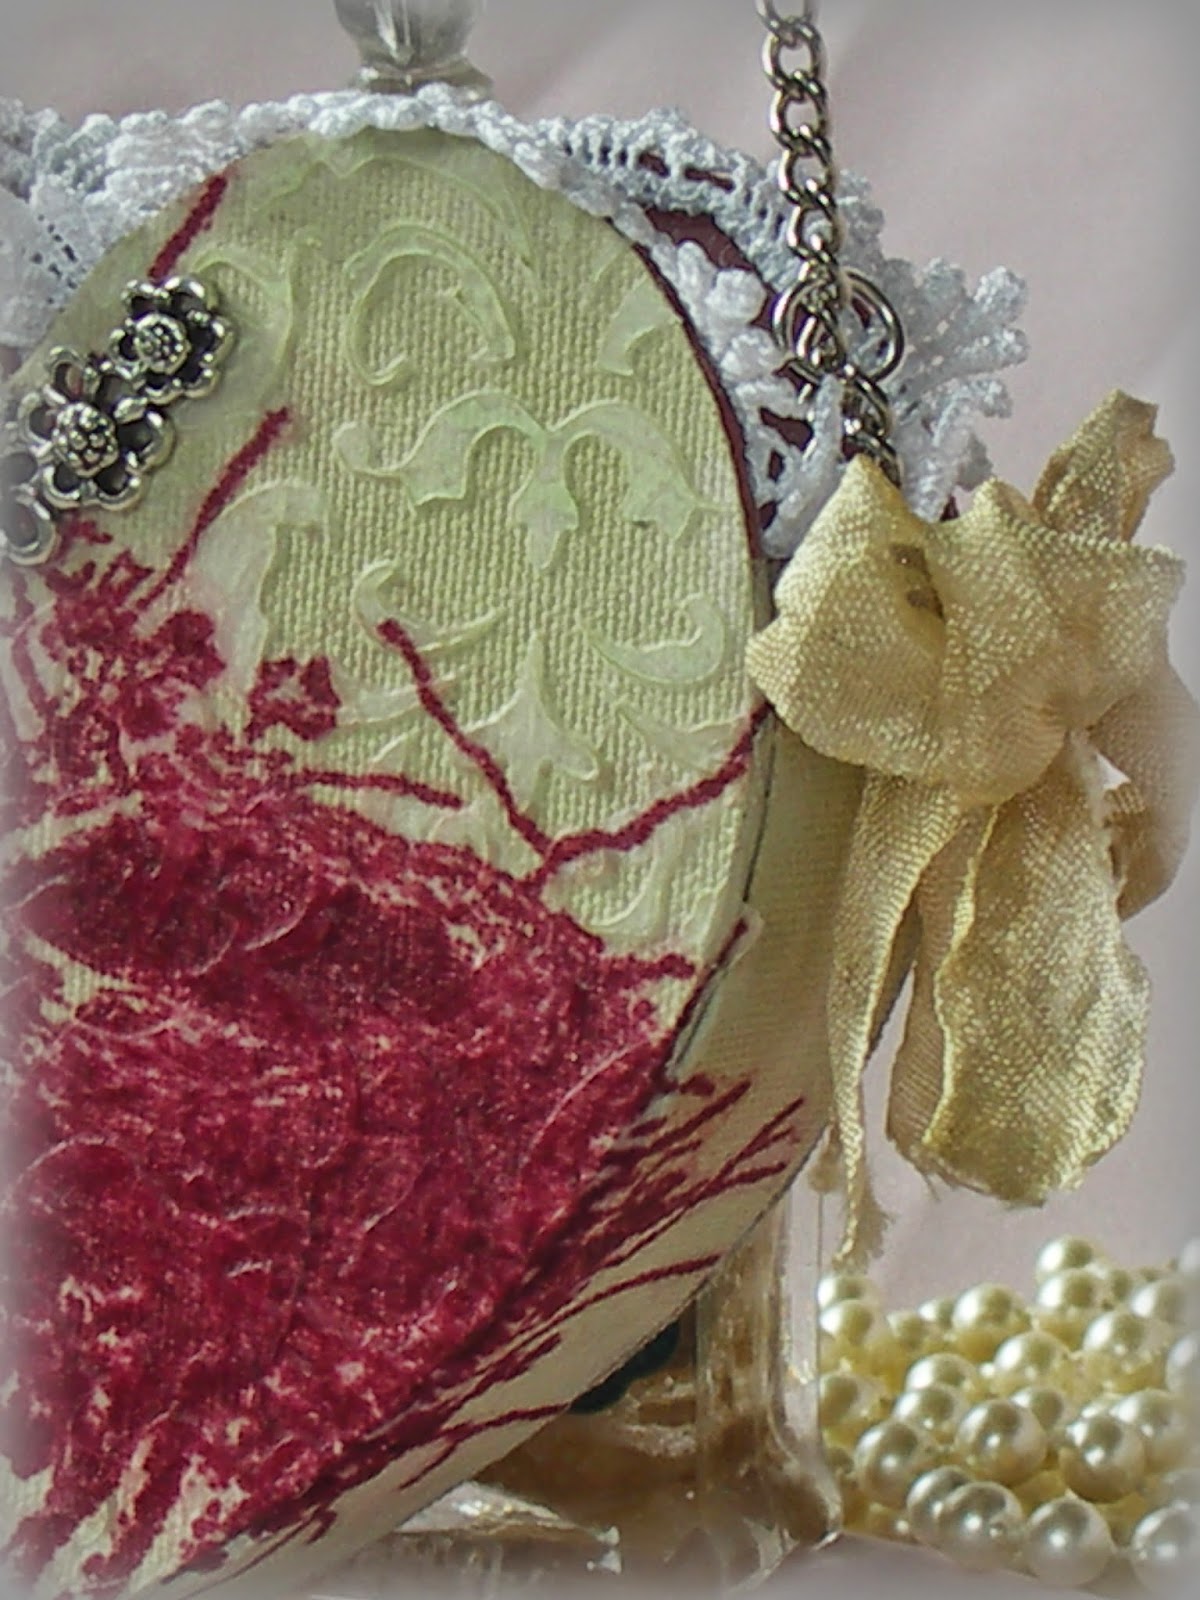
This 2" square ATB was cut from mountboard and covered in paper from the latest Menagerie collection. This particular design proved to be the perfect size for covering both the insides and outsides completely for that distinctly vintage shabby feel.
The edges were smeared with Tarnished Brass Distress Paint.


Next for the rusted trellis. I love getting this texture created quickly and my 'go to' method these days is to cover plain card with a couple of layers of metallic embossing powder (in this case Ranger's gold) followed by a couple of layers of Distress Embossing Powder (I used Walnut Stain but Vintage Photo works equally well). You can't over heat Distress powder and a little more heat than usual allows the two powders to combine beautifully.


As the amount of trellis used on this smaller box was restricted I chose only to add a few inserted pieces. In this case they were cut from an alcohol ink altered metallic sheet to add a contrast in texture and a touch of shine.


Now to the foliage. Tim's Kraft Coredinations cardstock has become such a favourite of mine as it cuts so well through the Sizzix Alterations Spring Greenery Strip die and looks fantastic when sanded and inked. I chose to use three designs and colours to add to the untamed natural feel.


The flowers were cut from another Strip die, Tattered Flowers. The whiter ones were actually coloured with Old Paper Distress Stain, edged with Pumice Stone Distress Ink and centred with a combination of Wild Honey Distress Paint and Clear Rock Candy Distress Glitter.


The mini purple flowers were cut from the reverse side of the bottle top backing paper, inked on the edges to give them a little more depth of colour, and completed with Idea-ology mini fasteners in the centres.


And now for those Catkins... I cut four of the same twig shapes from that Spring Greenery Strip die I mentioned earlier, sandwiching them together to make a much thicker stem. After applying a coat of Gathered Twigs Distress Paint, I dipped the ends into my Studio 490 Wendy Vecchi white embossing paste and then into some Antique Linen Distress Embossing Powder.
By heating this mixture the powder was 'set' and the paste puffed up to form the perfect textured Catkins.


The box lid was a great place to add not just flowers and foliage, but some more 'discarded items'. As well as a nut and cog I created a flattened bottle top from a painted chipboard die cut and a painted piece of embossed metal foil.


I know this isn't your traditional Spring project but I love the way the bright bottle tops work with those shabby flowers and of course now I have another super little box to use as the most glamorous packaging for a gift (if I can bear to part with it that is!!)
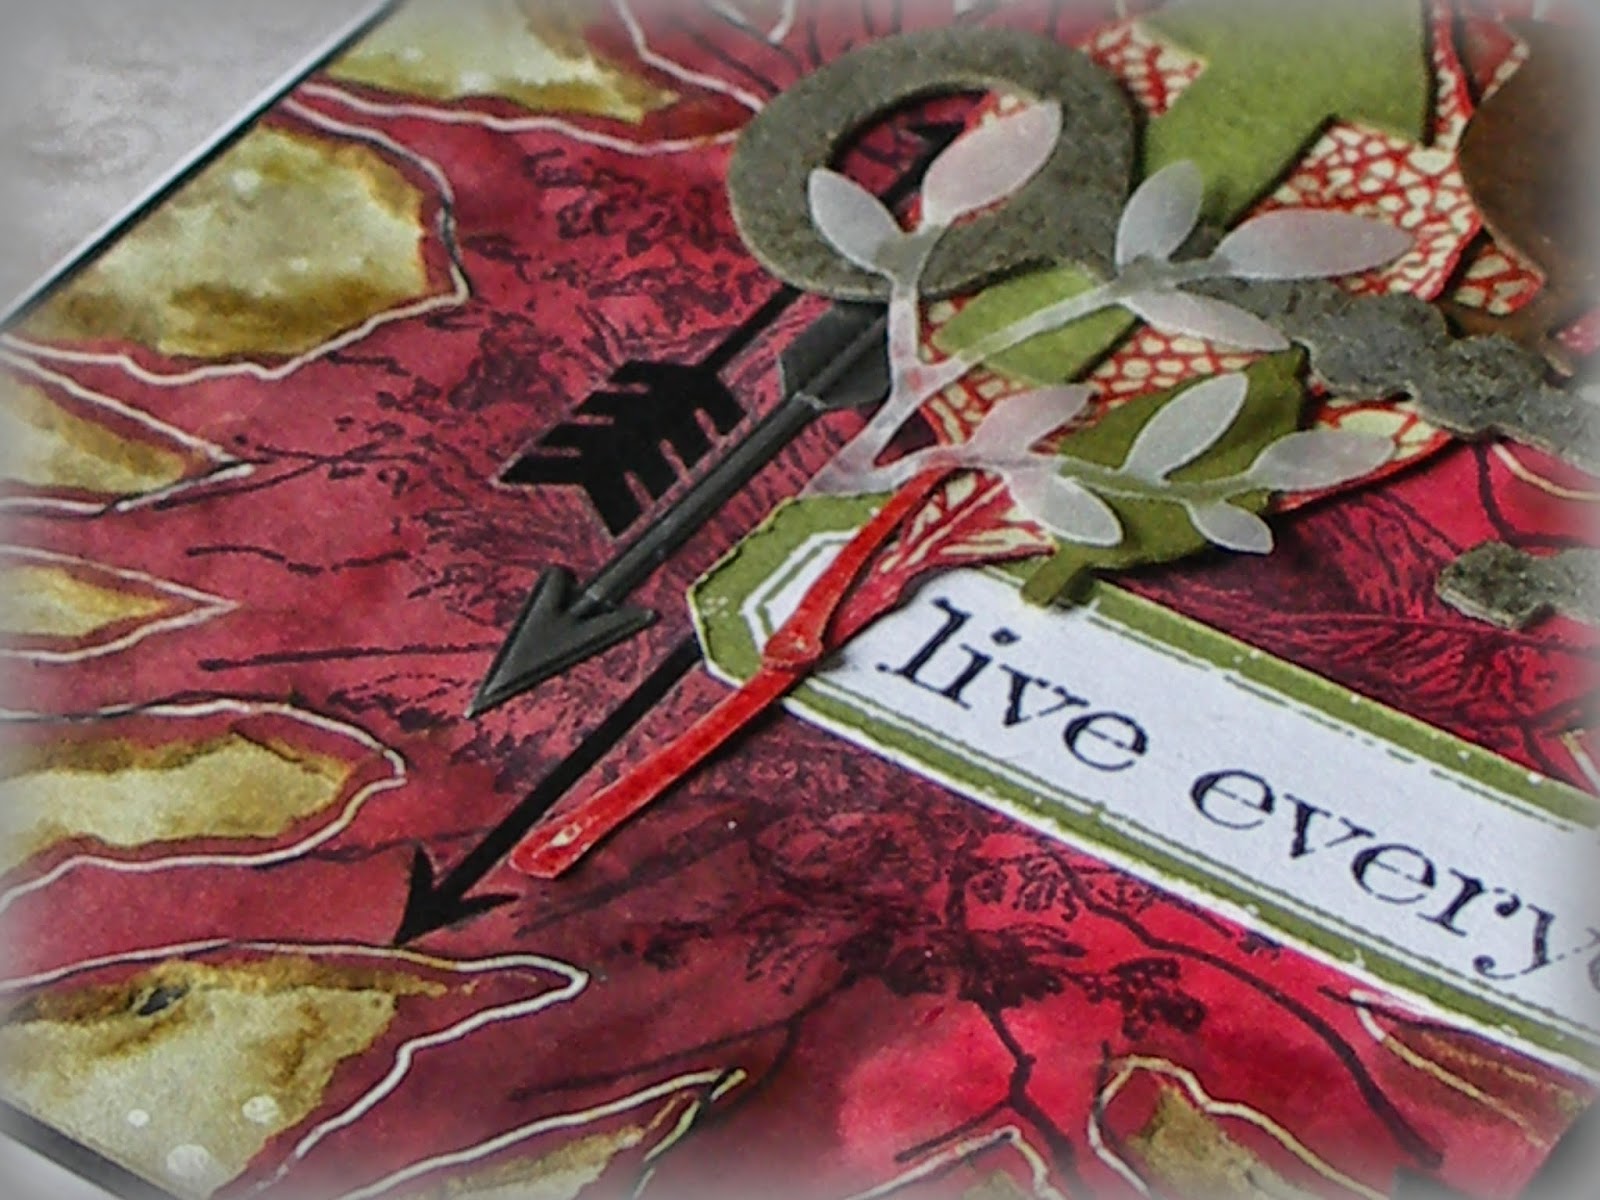
I am going to enter this into Eileen Hull Designs current Art With Heart Challenge - April Showers. Make sure you hop over and take a look as there is a Sizzix Prize Pack up for grabs!


Please do make sure to hop over to A Vintage Journey to see the most beautiful DT projects inspired by Jennie's theme. There's a gift voucher up for grabs from Country View Crafts for one lucky winner so that's a great reason to enter too.

I've got another post coming up later so I hope you can join me then, but for now take care of yourselves, Jenny xxx

Links to Country View Crafts;

16 April 2014

Flights of Fancy at Frilly and Funkie

Hi everyone and welcome back. It's the second week of the current Frilly and Funkie challenge 'Flights of Fancy' and Trace would like you to create any vintage project inspired by the onset of Spring. Your project must include wings somewhere, either in the form of birds, bees or butterflies.


Spring, birds, had to be that Wildflower paper! This is probably the busiest card I've made recently but as the layers built so the drama unfolded.


I started this by cutting one of the 6" square panels from the paper collection and ran white embossing paste onto the areas without flowers. Once dry I used Distress Stain lightly over the top to colour the paste unevenly. Then Glossy Accents were used to highlight the flowers on the paper.
Finally a thin layer of gesso was washed over the whole background, and wiped away from the glossy sections.


Next to start building up those layers; sanded Kraft Coredinations cut with a Frameworks die, a torn piece of paper from the same collection and a piece of sheer lace. These pieces helped to build a structure to the design by adding 'straight' lines to direct the eye to the bottom left corner first.


Again in the paper collection there are some small rectangular versions of the larger designs, so I used the same design, distressing the edges. A coordinating piece of paper was cut with the large ticket die and stamped with the 'Fig' strip stamp.


Now I stamped both the bird and the nest onto paper, covering them in Distress Embossing powder to add texture. This also acts as a resist so you can paint each of them with Distress Stains. Then it was just a question of fussy cutting them both and layering them onto the background elements.


Finally more Distress Embossing Powder was used on die cut branches to simulate lichen before being slotted under the nest. The sentiment strip was stamped in coordinating inks and tucked under the bird.
Great news, it fits with the current Simon Says Stamp Monday Challenge theme - Winged Things.
There's also an 'Anything Goes' theme at Vintage Stamping Challenges sponsored by Flonzcraft.


So that's my idea of wings in Spring... what's yours? Take a look at the ideas from the rest of the Frilly and Funkie Design Team to give you more inspiration for your own creation. If you enter you are in with a change of winning the opportunity to be a Guest Designer at Frilly and Funkie and there's a random draw for a $25 shopping spree at The Funkie Junkie Boutique! Looking forward to seeing you there.

Take care of yourselves, Jenny xxx


Related Posts Plugin for WordPress, Blogger...