18 January 2023

Expanding File Folder with Eileen Hull Designs

Hi everyone and welcome. This year has already started with a bang as Eileen launched her new Chapter 1 2023 Sizzix Die and Embossing designs. Now Eileen's design teams are sharing tutorials for some of the samples shown during her FB Live and as part of the blog hop.

I've got a tutorial to share with you today for the Expanding File Folder which is made using the new Sizzix ScoreBoards Plus Frame Pocket Journal Die. It's the perfect place to store all those leftover die cuts, embossed pieces, extra stamped images and other scraps from previous Eileen projects. More importantly you'll know where to find them when you need things to create new pieces (including perhaps some ATC's!!)


Let's get started, beginning with the construction of the main body of the folder; cut two of the large panels (they are scored/hinged at one end) and one of the triangular wrap over closure sections from stiff card. I chose to use a 350gsm kraft card as it is still flexible but is also sturdy (I believe this is around 130lbs). Join the two main panels and closure section as shown below.


You will have spotted that I covered the hole punched scored spine sections with strips of card (6 1/2" x 1 1/8") - this is to add strength to the top and bottom of the folder.


Cut two strips of the same weight of card 8" x 4" and score/fold them at 1/2" intervals to create two concertinas (see the example shown below). You will see in the finished example I added washi tape to the top of each concertina piece - I recommend you do this at this stage to make the process easier.


Cut three inserts from the same weight card measuring 6 1/2" x 4". Stick the 4" short sides of the inserts onto the one of the concertina pieces as shown below - make sure to only stick the inserts to one side of the mountain folds so that the concertina can continue to open to its fullest extent.


Now stick the other sides of the inserts to the second concertina following the same spacing. You'll see below that I've clamped these together whilst the glue dries; note that I have repeated the process of only gluing the inserts to one side of the mountain folds as shown on the dry side.


Whilst the concertina insert section dries decorate the outside of the body of the file folder with decorative paper. I created some by using Eileen's new Sizzix 3D Tablecloth Embossing Folder, layering ink and paint over the embossed surface to create a mottled pattern. Once decorated add your closure of choice to the file folder; this could include ribbon ties, magnets or as in this case a folio tie closure.


Here's how that works to keep the folder contents secure when complete;


It's now time to attach the concertina structure to the main body of the file folder. Start by sticking the edge of one end of the concertina to the inside of the folder at the back as shown below. You'll see the bottom edges are aligned and there's a gap at the top.


Stick the second concertina piece to the other side of the folder to mirror what you've done with the first. When the two concertina pieces are secure at the back of the file folder add adhesive to the front of them and bring the folder front up to meet them and secure in place. It should look like this;
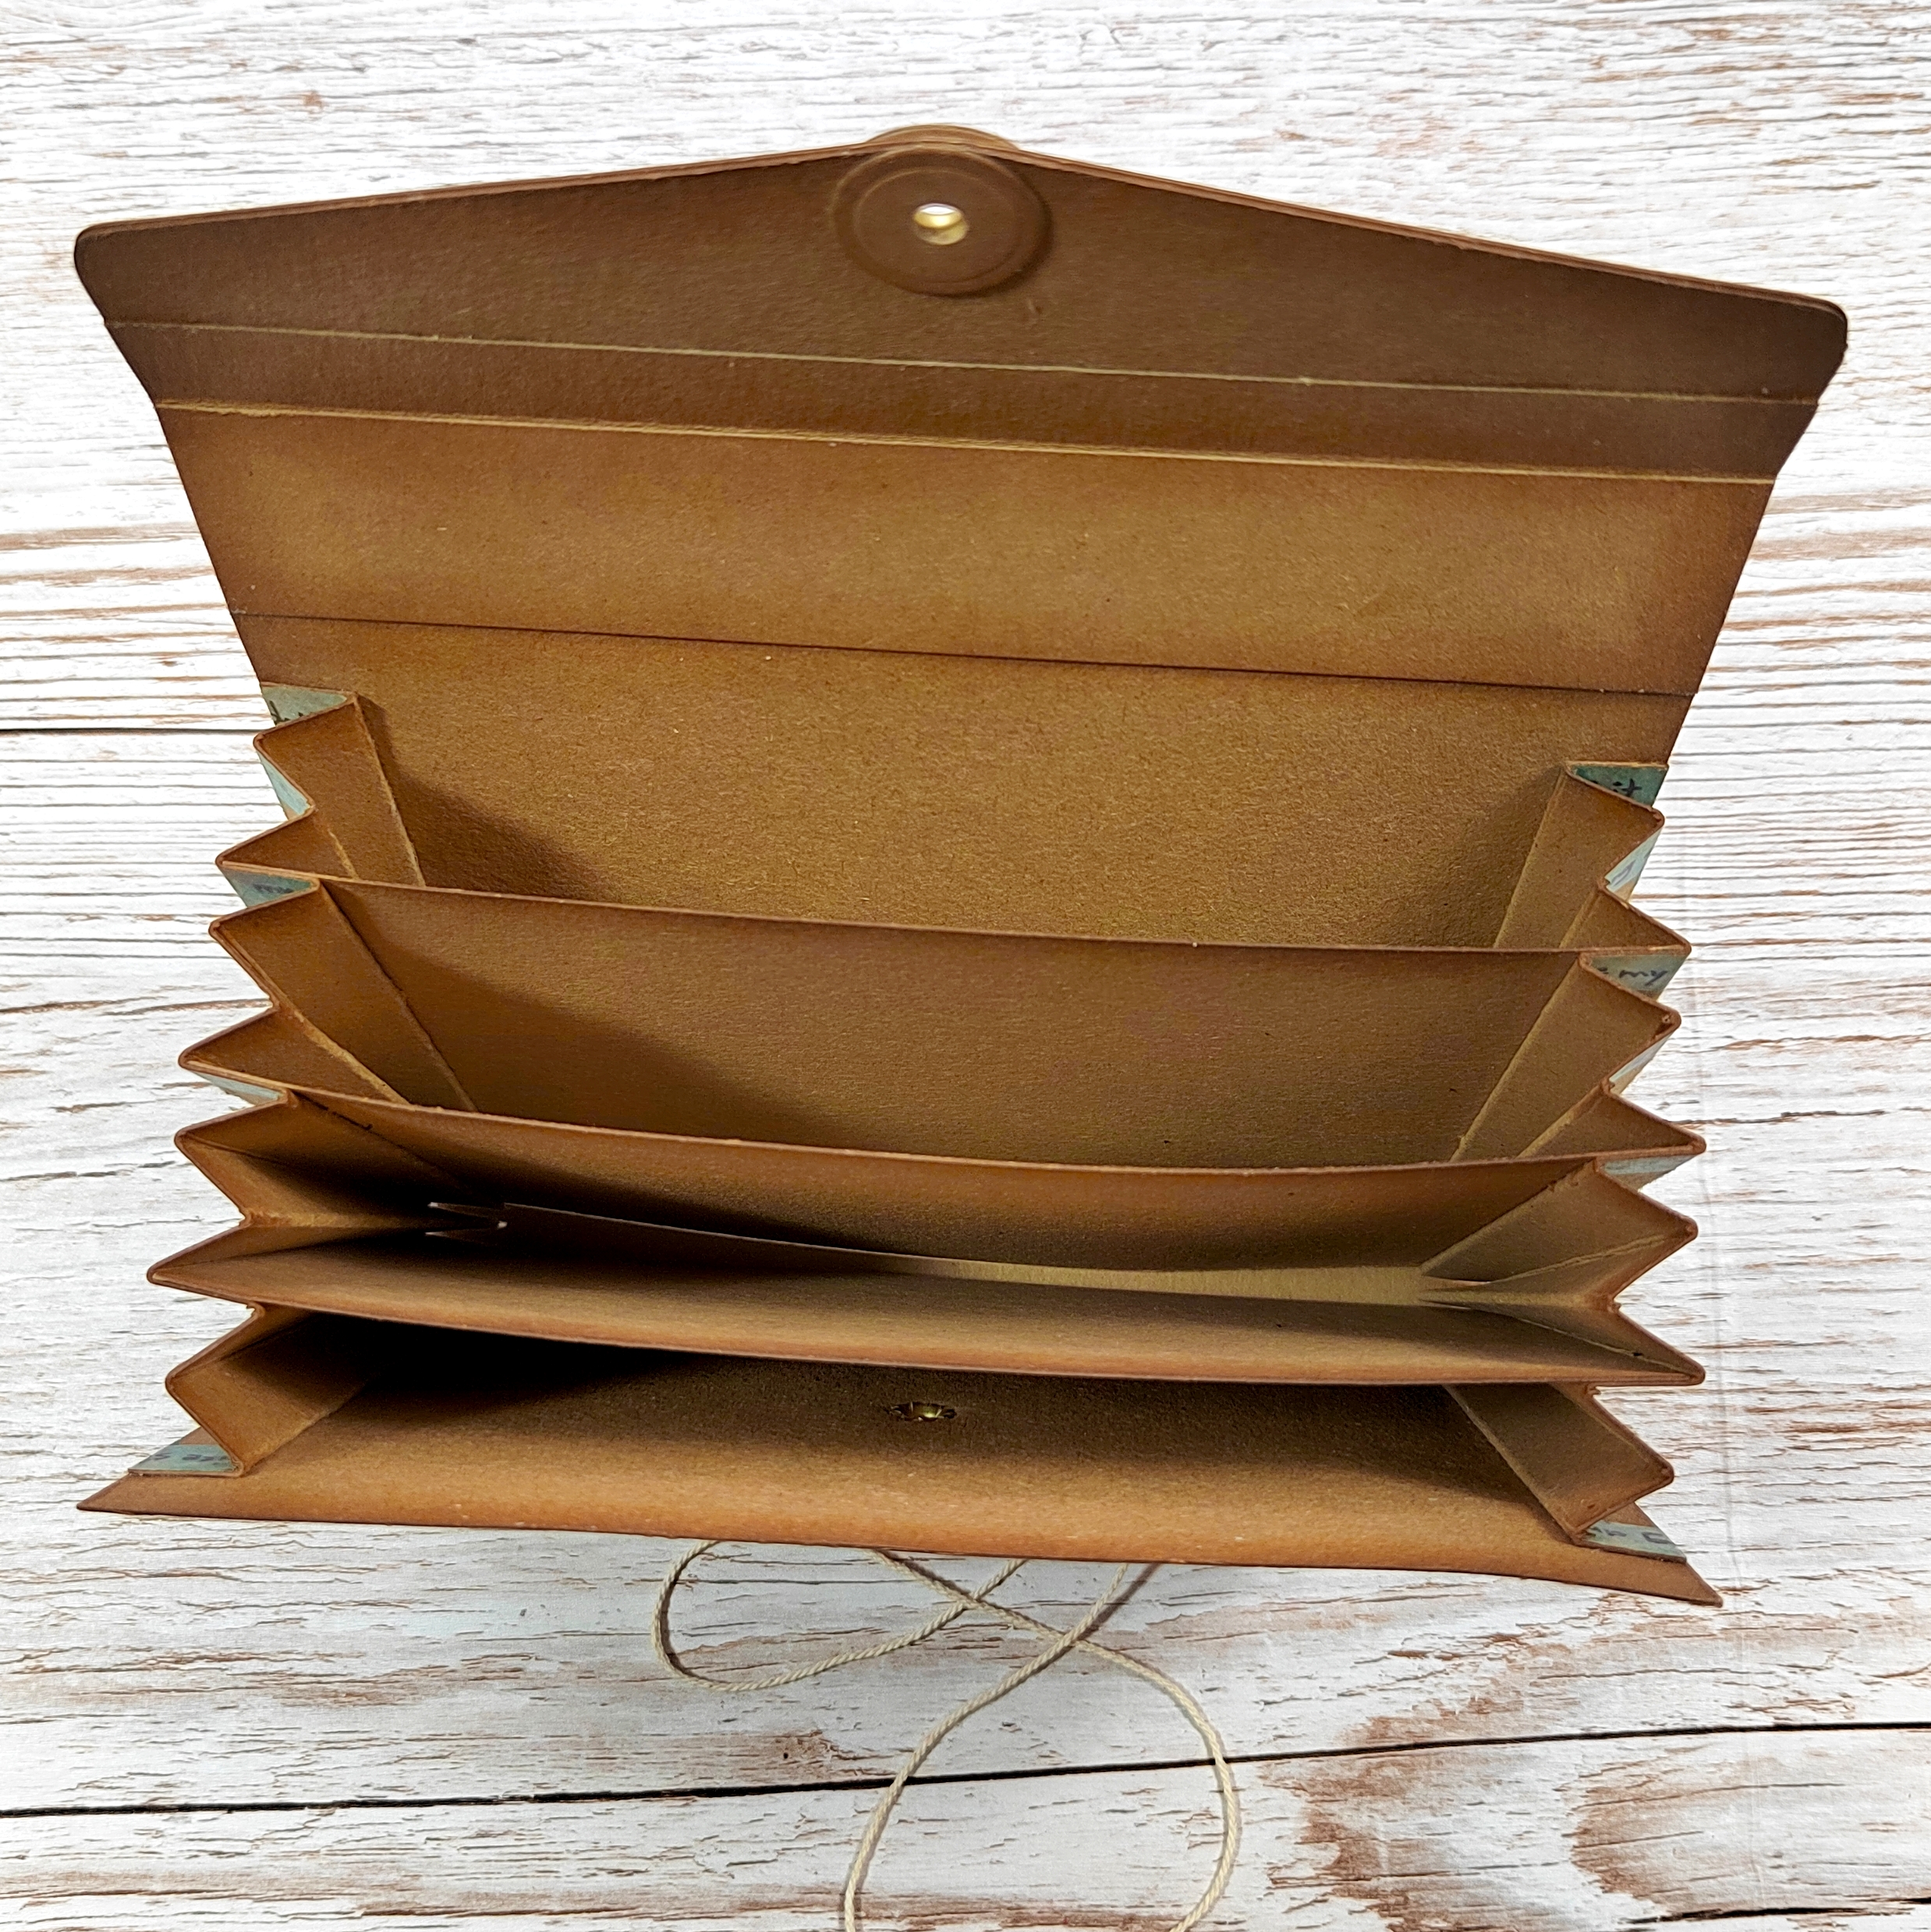

And from the side it will look like this;


And there's your finished expanding file folder, all ready to hold your scraps, die cuts etc. You'll be pleased to hear it can hold a lot!


Thank you for joining me today. Make sure to check out all the fantastic projects and tutorials from the rest of Eileen's team members - links to their posts can be found on Eileen's blog throughout the month.

For now thanks for visiting,
Jenny xxx

3 January 2023

Eileen Hull Designs Chapter 1 2023 Release Party and Blog Hop

Hi everyone and welcome. Thanks for joining the Eileen Hull Chapter 1 2023 Release Party and Blog Hop where you will find team members sharing projects created with the new dies and embossing folder. There will also be a giveaway too so make sure to watch the live show on the Eileen Hull Designs Facebook Live/YouTube Livestream. Comment in the chat and tell us what you would create with these dies, then you will be eligible to win a Chapter 1 die/embossing folder!


And now it's time to introduce the Chapter 1 2023 Eileen Hull/Sizzix collection!


Here's what Eileen has to say about the collection;


"Let's start with the ScoreBoards Frame Pocket Journal - this is a Bigz Plus die so you will need a 9” cutting machine. The Journal measures 4 1/2” x 6 1/2” x 1 1/4” with an adjustable spine. What makes this die special are the additional pieces on the die, a pocket to hold ephemera, a frame and flap! These extra pieces may be used in many of my other journals or they can be used independently. The die may also be configured in a few different ways so watch the blog and Facebook live shows for ideas.

There are two Thinlits sets that coordinate with the Journal. You asked for a new alphabet - you got it - and I added numbers too! The Tiled Alphanumeric is very versatile because you can use both the positive and negative shapes. Each letter is perforated which makes it easy to create and line up words.

The other Thinlits set is the Library Pocket, ATC Card and Tab die - a journal essential! Use the ATC card die to knock out a bunch of Artist Trading Card bases and add the library pocket to package it up to swap. The Tab die is perfect to add to the Journal pages or on the ATC.

The last item is a 3D embossing folder called Tablecloth which was inspired by a crocheted cotton piece from my Mom. This adds beautiful texture and dimension to card backgrounds, book pages or tags!"

A couple of projects I've made with the new collection;


First up is an expanding file folder, perfect for storing those smaller Eileen Hull Designs die cuts, stamped ephemera and embossed pieces that have been left over from previous projects.


This has been made using the Frame Pocket Journal Scoreboards Plus Die whilst the decorated front has been embossed with the Tablecloth 3D Embossing Folder.


There will be a full tutorial on my blog for this one later in January.


I've also made a mixed media art journal using the Frame Pocket Journal Scoreboards Plus Die. More of this one will be shown on the Live broadcast.


I hope you've enjoyed seeing the first of my projects using Eileen's latest die releases. I'll be back in the middle of this month to share a tutorial for the expanding file folder. Meantime make sure to tune in to the Eileen Hull Designs Facebook Live/YouTube Livestream and also head on over to see the rest of the project peeks in the blog hop.

Blog Hop Stops;


Eileen Hull Designs
Pam Bray
Jennie Atkinson
Sarah Lizzie
Lisa Hoel
Susie Bentz
Tonya Trantham
Elizabeth Robinson
Jenny Marples - you are here

19 December 2022

2022 Round Up for Eileen Hull Designs

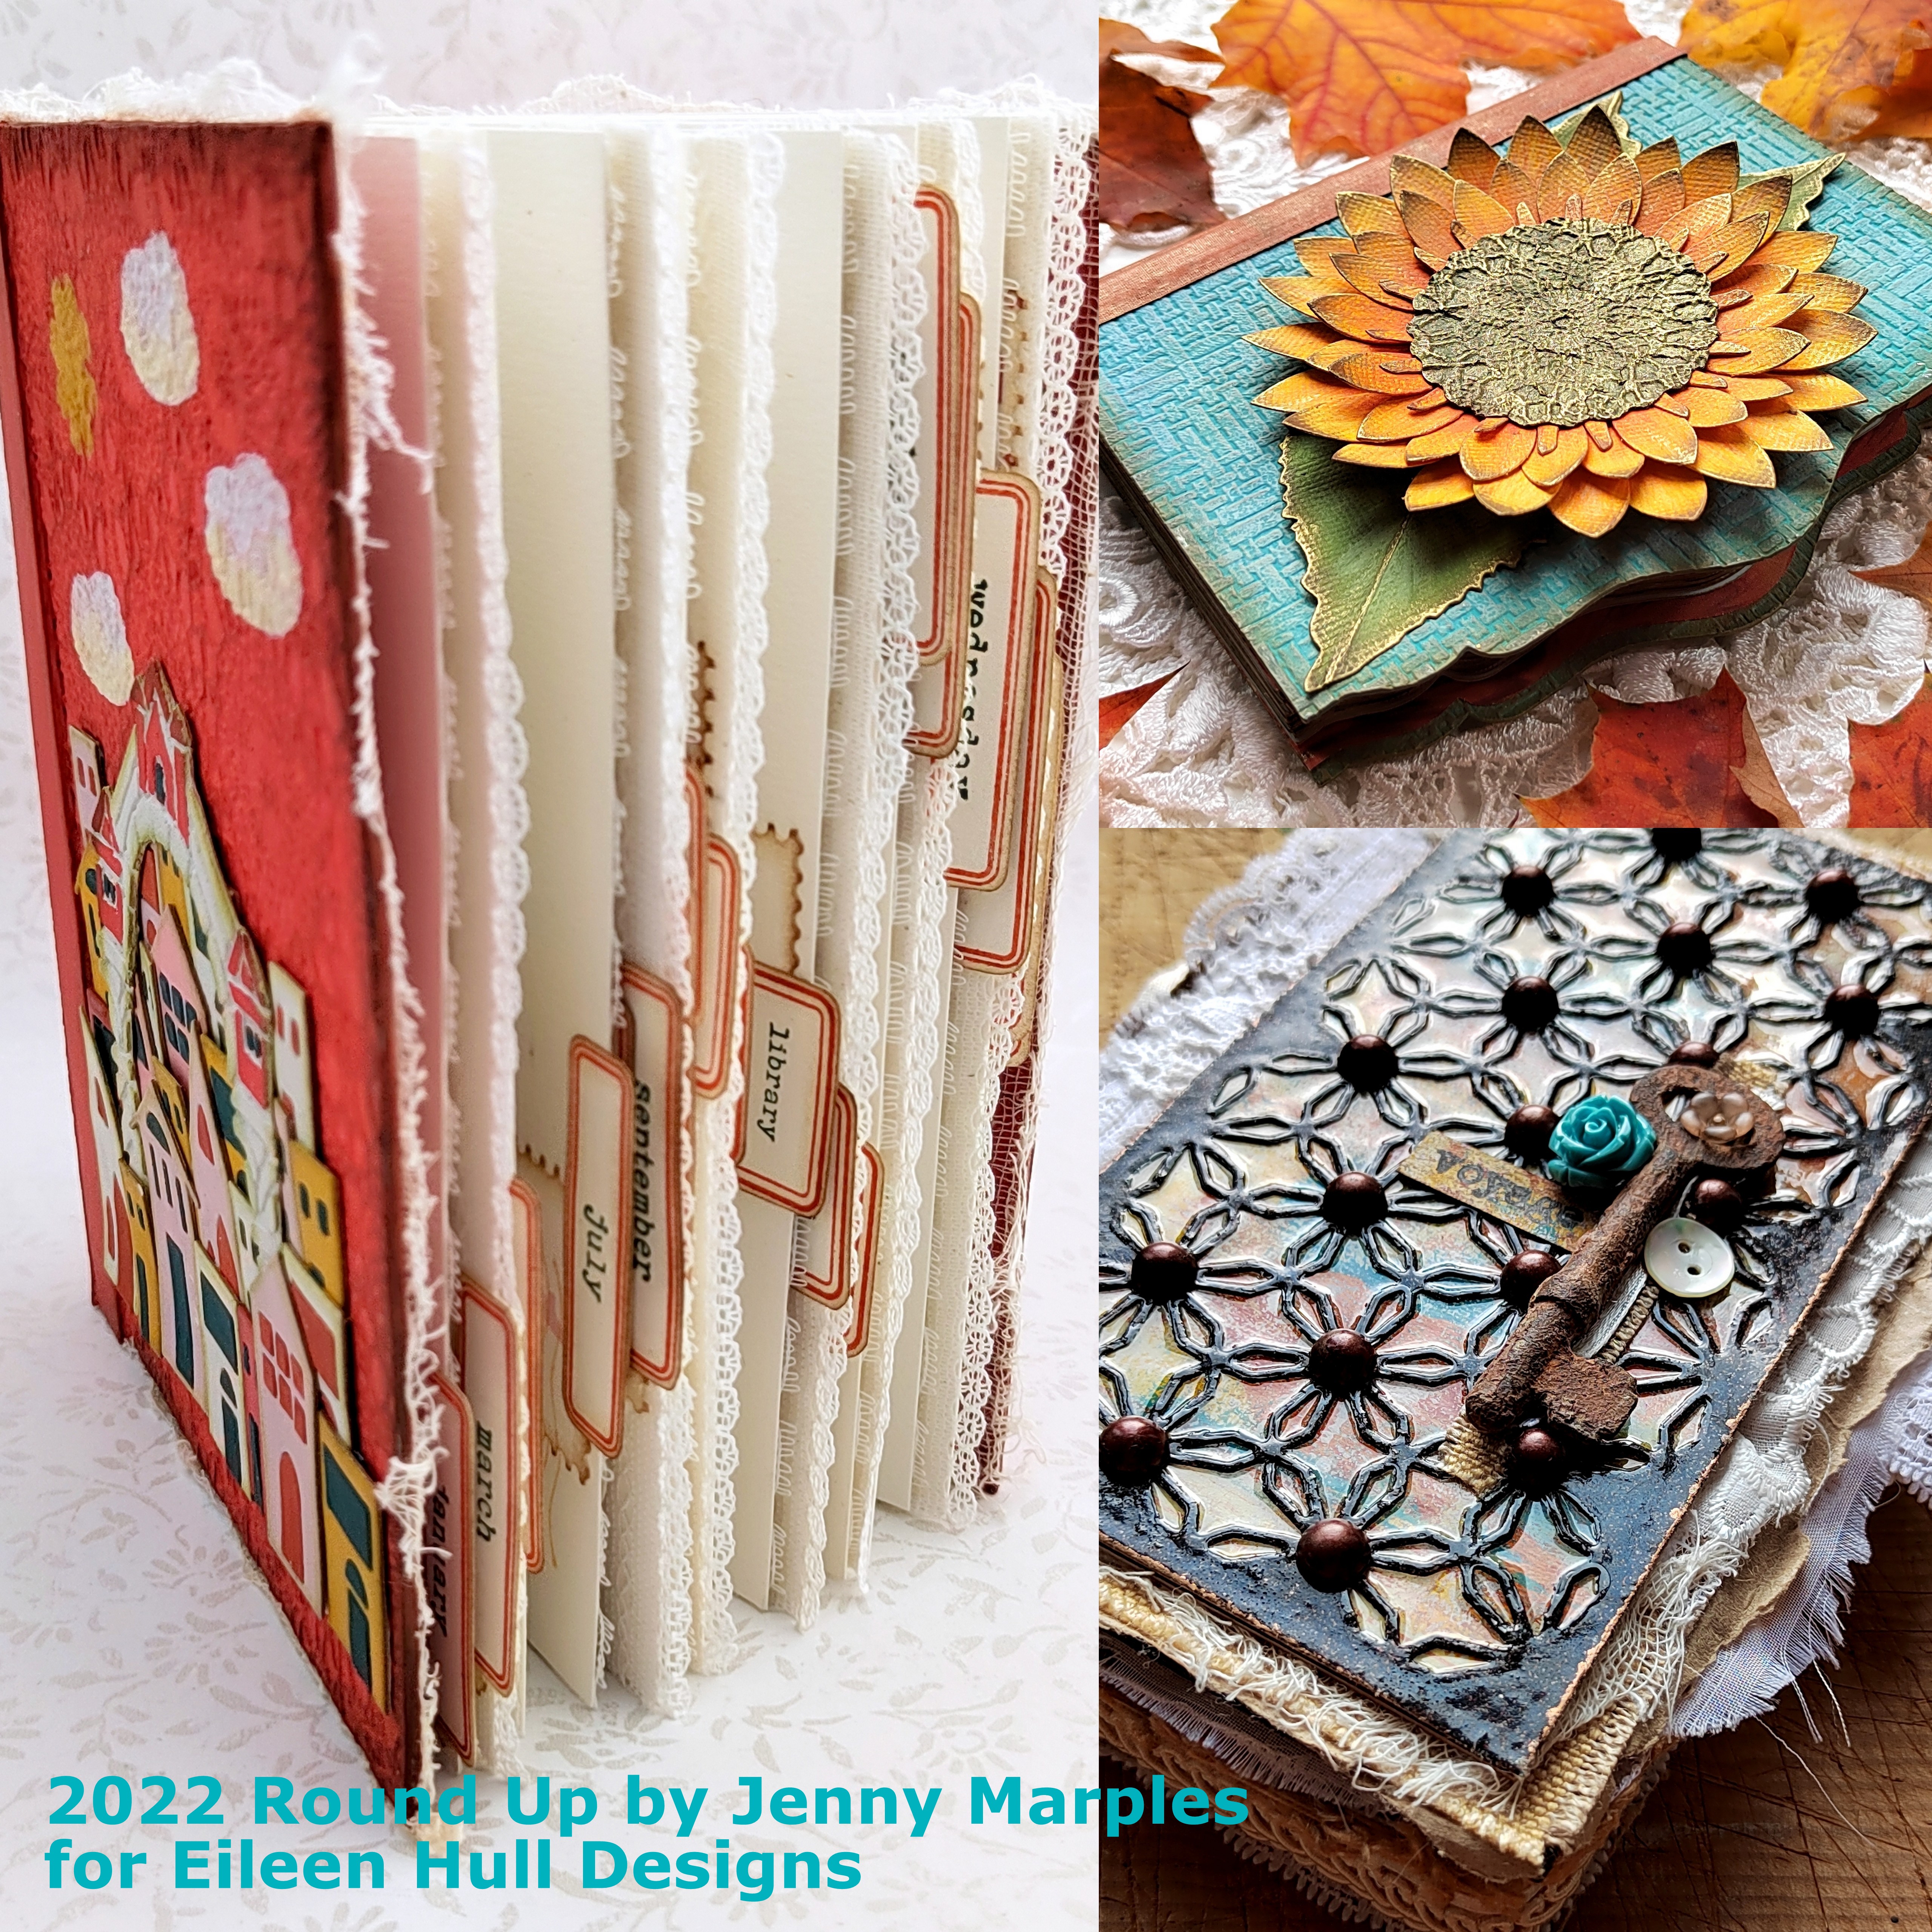
Hi everyone and welcome. This month Eileen Hull's Design Teams are sharing their favourite projects of 2022, and what a year it's been!!! Not only has Eileen come up with so many fabulous Sizzix Dies and Embossing Folders, she has also produced more Maker Forte Stamps all of which work so well together.


The first of my favourites from this year incorporates all three: a notebook based on Eileen's Sizzix Scoreboards 'Box, Book' XL Die with covers embossed using her Sizzix 3D Embossing Folder 'Crochet Mandala' and decorated with die cuts from her Sizzix Thinlits 'Shadowbox Elements' Die Set.


And inside the pages are embellished using Eileen's Maker Forte 'Making Plans' Stamp Set. You can see the original tutorial HERE.


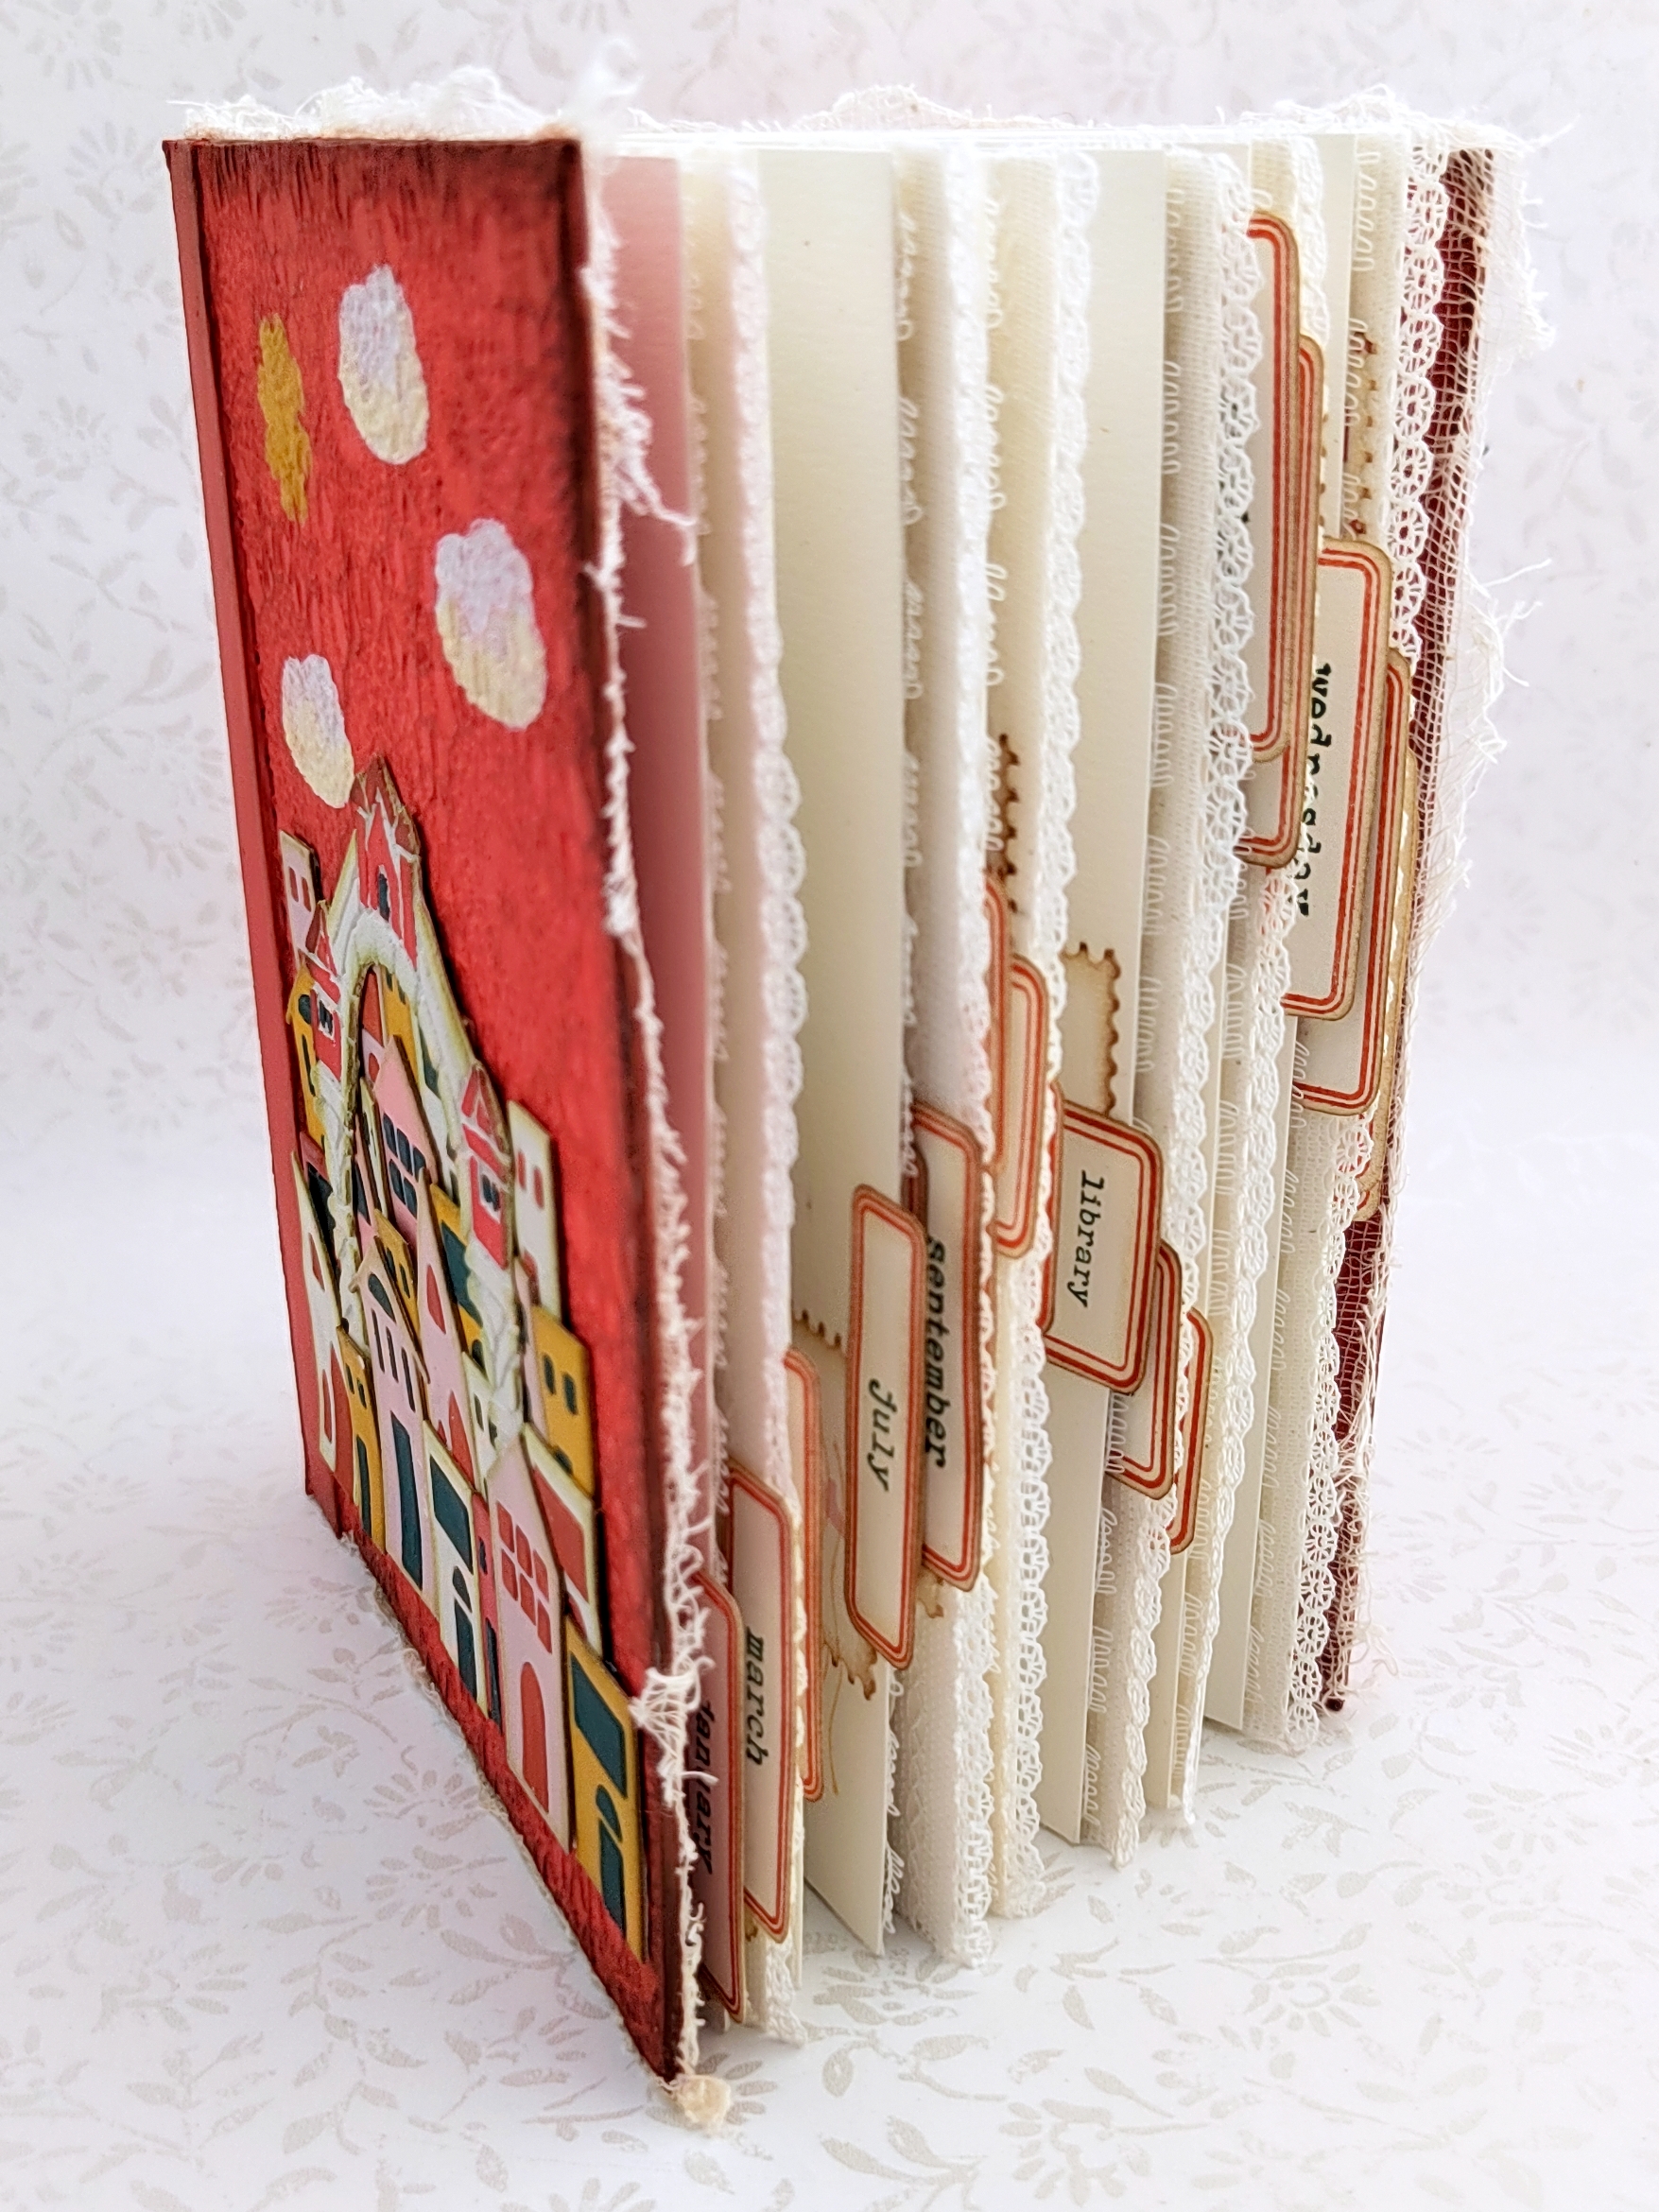
The next favourite is another book, this time an accordion book using Eileen's Sizzix Scoreboards 'Skinny Mini Book Box' XL Die and her Sizzix Thinlits 'Skinny Mini Elements' Die.


Inside this book opens up to reveal linen accordion pages filled with painted images, Alison Bomber sentiments and postage stamp die cuts created using Eileen's Sizzix Thinlits 'Snail Mail Die and Sizzix 3D Embossing Folder 'Woven Leather'.


The original tutorial for this book can be found HERE.


My final choice is... you guessed it... another book! This one was created with Eileen's Sizzix Scoreboards 'Card Caddy' XL Die and embossed with her Sizzix 3D Embossing Folder 'Woven Leather'. In pride of place on the front cover is a large golden flower made using Eileen's Sizzix 'Sunflower' Bigz L Die and Sizzix 3D Embossing Folder 'Crochet Mandala'.


Inside the pages have been given the same scalloped edge by using the Card Caddy Die to cut them. The original tutorial for this one can be found HERE.


I hope you've enjoyed revisiting these projects with me. Make sure to check out which favourites have been picked by the other team members - links to their posts can be found on Eileen's blog throughout the month.

For now thanks for visiting,
Jenny xxx

16 November 2022

Sparkle and Shine with Eileen Hull Designs - Triangle Accordion Bound Book

Hi everyone and welcome. This month is a busy one for the Eileen Hull Designs teams; the 3rd Annual Comfort and Joy Event has been running in the Eileen Hull Fan Club as a big thank you to the group. With exclusive tutorials and inspiration for using Eileen's Sizzix Dies and Embossing Folders in the run up to the festive season it's not to late to join in the fun!!!


And the fun doesn't stop there; throughout November Eileen's teams are continuing to share some Sparkle & Shine project inspiration with more glam and festive makes to get your creative juices flowing!!! My tutorial for this month shows you how to create this Triangle Accordion Bound Book using Eileen's Sizzix ScoreBoards XL Die - 'Geometric Box'. It is a perfect stocking filler present that can be filled by the lucky recipient with memories, photos, ephemera and journaling.


As you follow the tutorial below you'll find all the essential measurements have been given in both Imperial and Metric sizing.

So let's get started, beginning with creating the covers which are cut from Eileen's Sizzix ScoreBoards XL Die - 'Geometric Box'. Use matboard, cardboard or other stiff board to cut two each of the large triangle box side pieces, two of the large triangle border pieces and one of the star shapes.

Now have fun decorating all of these elements on one side only with your paints, inks, stencils, stamps, decorative papers and more. For that all important touch of sparkle and shine Sizzix Luster Wax, Metallic Flakes, Metallic Foil Sheets, Glitter and Embossing Powders are all fantastic options. My triangles feature PaperArtsy Fresco Finish Chalk Acrylic Paints, Stencils and Stamps with a hint of Gold Luster Wax and some clear glitter on the star.


To make the book pages you are going to need to cut 14 triangle pages from a strip(s) of paper 4"/10.2cm wide - I used 100lb/220gsm heavyweight cartridge paper from an A2 size pad but since you are cutting individual triangles you could easily use smaller sheets or scrapbook paper etc. To match the covers your triangles need to be 3"/7.6cm wide at the bottom, with the point on the other side in the centre (so 1 1/2" / 3.8cm in).


The accordion binding is made from a strip of card 2 1/2" /6.5cm wide by 11"/28cm long. For this I used Sizzix Cardstock in a colour to match the star on the front cover and I would recommend a coloured cardstock for this if you want to make it a feature of your book. Fold mountain and valley folds at 3/8"/1cm wide as shown below. Add glue to the underside of each mountain fold and stick these sections together.


Glue the single sided end of the accordion strip to the reverse side of the front cover on the right hand side. Then take the first page and glue it to the back side of the first of the double thickness mountain fold strips, taking care to line it up with the cover as shown below.


Continue to glue each page onto the back side of each double thickness mountain fold pieces, lining them up with the cover and existing pages as you go.


When you get to the last page you will find you are sticking it onto the back side of the last double thickness mountain folds with the single thickness part of the strip left loose. Glue that bit onto the back of that final page (so this one has binding on both sides).


Return to the front cover and glue the remaining page onto the back of the cover, hiding that single thickness strip from the binding.


To finish the pages glue the back page onto the back cover, again hiding the single thickness strip.


Stick the decorative triangle borders onto the front and back covers and finally add the star to the front page, and you're done!


And having created one it was easy to make more in different colourways;


Thank you for joining me today and make sure to check out all the fantastic projects and tutorials from the rest of Eileen's team members - links to their posts can be found on Eileen's blog throughout the month.

For now thanks for visiting,
Jenny xxx

18 October 2022

Sunflower Book with Eileen Hull Designs

Hi everyone and welcome. This month has already started with a bang as Eileen launched her new Chapter 4 Sizzix Die and Embossing designs. Now Eileen's design teams are sharing tutorials for some of the samples shown during her FB Live and as part of the blog hop.


Going back to the blog hop you'll remember I decided to feature the new 'Sunflower' on the front of a hand-bound book, made using the 'Card Caddy' Die and 'Woven Leather' 3D Embossing Folder.


Let's find out how this came together, starting with that gorgeous sunflower. Cut three of each petal layer, three leaves and one centre using the Sizzix 'Sunflower' Bigz L Die from Sizzix Cardstock. I save card by cutting one of each shape from photocopier paper, then use it as a template to cut out the cardstock to size.


Next cut the central part of the Card Caddy from Sizzix Matboard using the Sizzix 'Card Caddy' Scoreboards XL Die. Cut off the spine section before embossing the two covers using the Sizzix 'Woven Leather' 3D Embossing Folder. Misting the Matboard with water before embossing it helps to get a deeper impression.


I then used PaperArtsy Fresco Finish Chalk Acrylic Paints to add colour to the sunflower, leaves and book covers. A tip when painting the sunflower and leaves is to dry brush the colour from the centre out to create a feathering effect. Add a vintage look by blending brown permanent ink to the edges of everything before blending a little 'Gold' Luster Wax on top.


To make this a thin book I cut away two of the scored spine pieces to leave just one, joining it in the centre of the two covers with some Architape®. Use the 'Card Caddy' Die again to cut folded paper/cardstock signatures before binding them inside the finished book cover. There are a lot of great bookbinding videos on YouTube to help with that bit.


Here are a few close ups of the finished book, including a peek inside;


Thank you for joining me today. Make sure to check out all the fantastic projects and tutorials from the rest of Eileen's team members - links to their posts can be found on Eileen's blog throughout the month.

For now thanks for visiting,
Jenny xxx
Related Posts Plugin for WordPress, Blogger...