Hi everyone and welcome. This month the Eileen Hull Inspiration Team are sharing projects using her new dies. At the start of February we celebrated the release of Eileen's 2021 Chapter 1 dies by Sizzix with a blog hop and release party on FB. As part of the blog hop I shared this Floral Folio Journal;
Several people asked how the folio journal was created so today I'm sharing a tutorial to cover those questions with a bit of a variation on design. It all started with a change to the cover; rather than leave the four sides and adjoining spines together I was inspired by Eileen's extra long cover and chopped off the smaller sides from the die cut pieces. After separating the central spine pieces I re-joined one of them to the centre of the two long covers with some Architape using 1/2 inch Hinge Spacers. This allows for extra flexibility in your spine, particularly important if you add a hand bound text block.
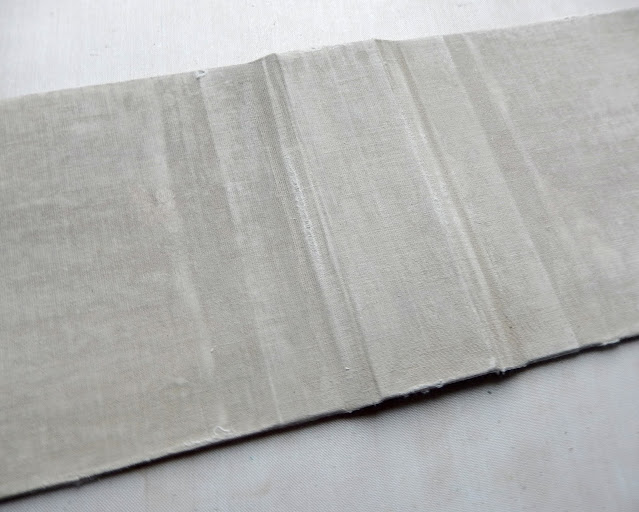
With the covers re-joined to the spine some plain cotton calico fabric was glued to the front of the cover and folded onto the inside using matte soft gel medium. It's important to let the glue dry before moving on or alternatively use dry adhesive sheets instead.
You'll notice below that I added another small piece of the calico fabric to cover the inside spine section since some of this will still be visible when the book is complete. Once the gel medium was dry I painted the fabric surfaces with a taupe colour paint.
With the paint dry I used a sanding block over the surface of the fabric, softening it and deliberately over-rubbing it in places to create a timeworn look.
I'd made my own sheets of decorative paper in neutral tones with watercolour paint, charcoal, gesso and plaster paste through a stencil. After cutting pieces to fit (two pieces 5 1/2 inches wide by 5 inches tall and one 1 1/4 inches wide by 5 inches tall) and distressing the edges I hand stitched them and stuck them onto the inside covers and spine.
Now to make the section that will hold the pages in place; I followed Maggie and Kay's tutorial HERE to create a flexi hinge spine piece using some of the decorative paper. It allows for dimensional page layouts like the ones in my Floral Folio Journal to lie flat. In that one I added just two of these hinged pieces to each side, gluing them onto the smaller spines - this had the added bonus of covering where the closure pieces had been secured at the back.
For this new Folio Journal I wanted to add some extra pages in between the hinged ones as an experiment. If you want to allow room for the flip outs and extra dimension on your pages there is no need for this bit. Using more of my own decorative paper I cut four pages 10 inches wide by 5 inches tall. These had tissue gel prints added in places before being stitched and distressed on the edges.
Below you can see where I made three holes along the spines of the four pages and matching holes along the centres of the gaps between the flexi hinges. Lining up those holes I stitched through them to secure the pages to the spine piece.
The photo below shows where the pages have been stitched in place. I then glued the spine hinge onto the inside cover spine using strong glue and allowed it to dry thoroughly. Remember, if you would prefer to keep it simple don't bother with adding the stitched pages in between the hinges, just stick your finished pages to the hinged sections.
Below you can see the front inside of the folio journal with the flexi hinge ready for it's page to be attached and the first of the stitched pages.
Flipping over to show another of flexi hinges sitting between two of the stitched pages. I am thinking that I'll add lace trims and gauze between the two sides of each of the stitched pages before gluing them together on the undecorated sides. I also added more of this decorative paper to the front and back covers of the folio journal to coordinate with that added to the inside.
So now it's time to add collaged pieces and pages to the inside of this folio journal - with a colour scheme picked and some more(!) handmade decorative papers collated it's time for more creative fun.
I hope this tutorial proves helpful as you create your own Folio Journals. Make sure to check out the projects and tutorials from the other Inspiration Team members - links to their posts can be found on Eileen's blog throughout the month.
For now thanks for visiting,
Jenny xxx


Brilliant! This is so beautiful.
ReplyDeleteAbsolutely gorgeous and the sanding back of the fabric to age it is a great idea. x
ReplyDeleteWow! What a gorgeous book! I am going to try this as soon as I get a chance!
ReplyDeleteBeautiful journal....great tutorial....
ReplyDeleteawesome tutorial Jenny!!
ReplyDeleteFantastic book :D Love the die-cuts stenciling !
ReplyDeleteI am fascinated! Love this amazing project.
ReplyDeleteThank you so much for sharing how you put your beautiful folio together. I especially love how it’s put together almost as a book would be put together!💖
ReplyDelete