My project this month shows some ideas for using a variety of bits and pieces that have collected during a recent clear out to make a new art journal. It is a way of capturing memories through the assembly of the pages themselves and eventually by the art that's added to them. It also means I don't have to buy a new art journal and have something much more personal to use. Here's what the 'completed' journal looks like at the moment - since the pages inside will be a 'work in progress' I decided to leave the cover unfinished too so more could be added along the way;

You'll see from the photo above that the pages aren't all sized to fit nicely inside the 'Pocket Notebook' cover because there are no rules to say that they should and those brief glimpses of the contents make you want to look inside and see more.
I started this journal by making the cover, cutting the front and back from matboard using Eileen's 'Pocket Notebook' Die. Below shows how I cut away the spine section from each cut and reattached one of these pieces to the centre of the covers using Architape, the 1/4 inch spacing tools and Teflon bone folder from Cool Katz Craft. This is done to make the spine more flexible and to allow the finished pages to open flat once the journal is complete.

Below you can see how the covers were decorated with assorted salvaged bits and pieces - there's the textured surface which is actually the reverse of an old map (the fold lines are still visible and I kept the bits of brown card that were stuck firm to it. You'll also see the old bits of string, masking tape, the frayed edge from an off-cut of calico fabric and some ribbon that coordinates with the spine.

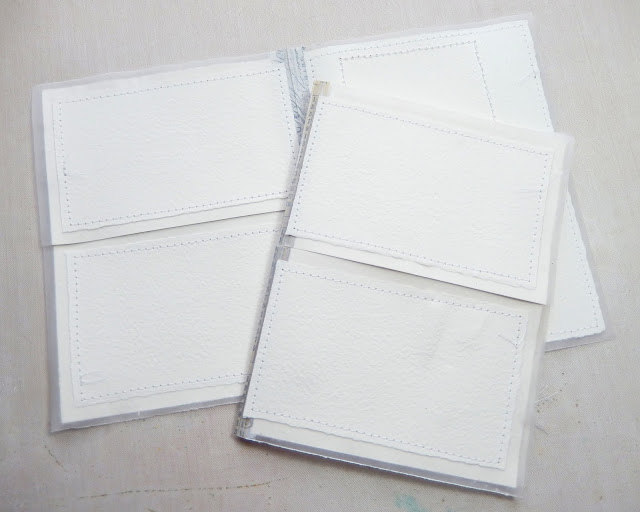
Turning to the pages inside I knew I wanted different sizes and was inspired by Eileen's suggestion of using envelopes. The ones below are small brown wage packed envelopes that have been joined together by slipping the opening of one into another and covering the join with washi tape. The brown surface has been given a coat of white gesso and on one side of each page a piece of mixed media journal paper has been added. I also cut off a thin strip from the sealed end of each envelope to create pockets.

During the clear out I found some lace pocket handkerchiefs. Rather than send them to a charity shop they were torn in half and had more of the journal paper stitched onto them, ensuring some of the lace detail could still be seen. You'll see below that more washi tape was added to the centre - this is a way of strengthening the centre fold in preparation for being stitched into the journal.

Another way of preserving memories through things which might otherwise be discarded during a clear out is to cover some of the handwritten detail with clear gesso so that it can eventually be incorporated into the art that's created on top. Below I did this with the notes written in pencil on the manuscript paper, again attaching the journalling paper to the untouched sides and strengthening the centre spines with washi tape.

Having used some of the manuscript pages from an old music book I also decided to use the cover too, adding white gesso to the front and stitching journal paper to the reverse sides.

To make some flap pages I used pieces of vellum, again stitching different sized pieces of journal paper to them so that sections of the vellum could still be seen.

Returning to Eileen's idea of using envelopes I used these DL sized ones that had previously been tea stained and again attached them together by inserting the opening side of one into the other before securing them with glue and washi tape. Since these pages are large they were also ideally suited to being cut along the centre on one side to create flaps. On the non-flap side I once again cut off a small strip from the closed edge to create a large pocket.

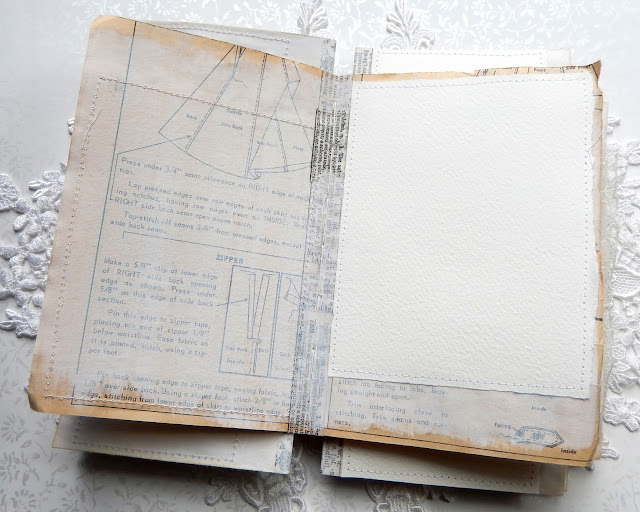
Finally I salvaged some old dress patterns and applied the white gesso and journal paper to them to create more pages. Once assembled and altered the pages were hand stitched together before being secured inside the covers with a fabric spine backing and some old aged copier paper.

So now you've seen the bits and pieces I used to create the pages inside the finished journal let's take a look at how it all came together, going back to the front cover;

Delving inside the front covers here are the end pages, the old copier paper used to secure the stitched signatures inside. I ran a piece of masking tape along the spine partly as a decorative feature and partly to protect this potentially weaker join from becoming damaged when in use.

Turning the end pages over you can see some of the stitched spine and the first of the lace pages.

Below you can see how one of the flip pages works, concealing some of the previous page and revealing some of what's to come.

Here you can see some of the covered manuscript paper and one of the larger envelopes. As well as providing different sizes of page to work on going forward they are also different surfaces.

The mix of sizes and surfaces can really be seen here where the protected manuscript and covered wage packet pocket also reveal the larger envelope and sewing pattern pages below.

And here is that sewing pattern, obscured on one side by the journal paper and left partially visible through the white gesso on the other.

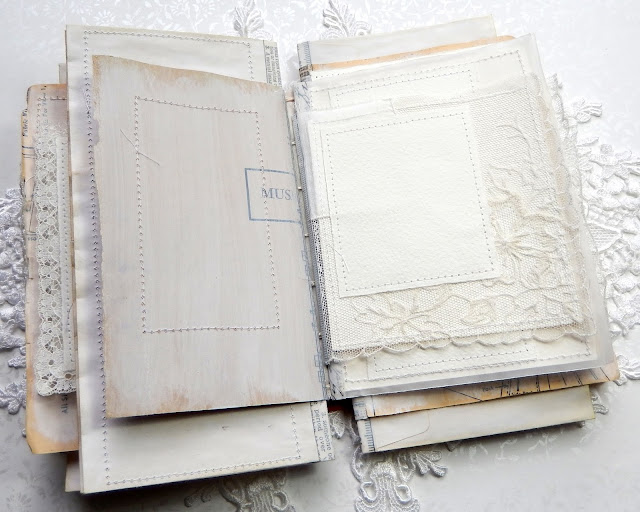
Finally here's more of the lace handkerchief and one side of the music book cover. You can see how the stitching and flexible spine allow for the pages to lay flat ready for working on in future.

For now, thanks for visiting,
Jenny xxx
Amazing...reminds me of going into an old book store and you find an old scrapbook that never got used but has the feeling of something someone made with a lot of love......my first thought after seeing the completed book was that this would be such a wonderful brides journal.....
ReplyDeleteGorgeous!
ReplyDeleteLove the organised randomness of your art journal Jenny, and the anticipation of being able to see the hint of another page before you actually get to it is so clever. Note to self, I really must have a go because like you say “there are no rules”. Thank you for sharing your process of making a Junk Journal. xx
ReplyDeleteOh. My. Gosh. This is SO COOL Jenny! I absolutely love it. All those flaps and the parts that stick out… awesomeness. You'd better share with us as you start to add the art to your new art journal. =)
ReplyDeleteYes please, show us your artwork! What a lovely art journal you have created! Inspiring!
ReplyDeleteOh, my goodness, Jenny! You have shown us just how beautiful 'junk' can be when organized into pages that make you tingle in anticipation of the next. Truly inspiring work!
ReplyDeleteLove that you made a bound junk journal and all the different sized pages are really cool!
ReplyDelete