18 March 2013

Just a little bit blue

Hi out there and welcome (back) to my little piece of Blogland. Thank you to everyone who has left comments/messages - they will be replied to asap (just having to do them in small doses at the moment).


Over at the Indigo Blu blog they are having their first challenge - Blue. Thought I'd throw my hat into the ring with this card. It has been made using the Sewing Mends The Soul set.
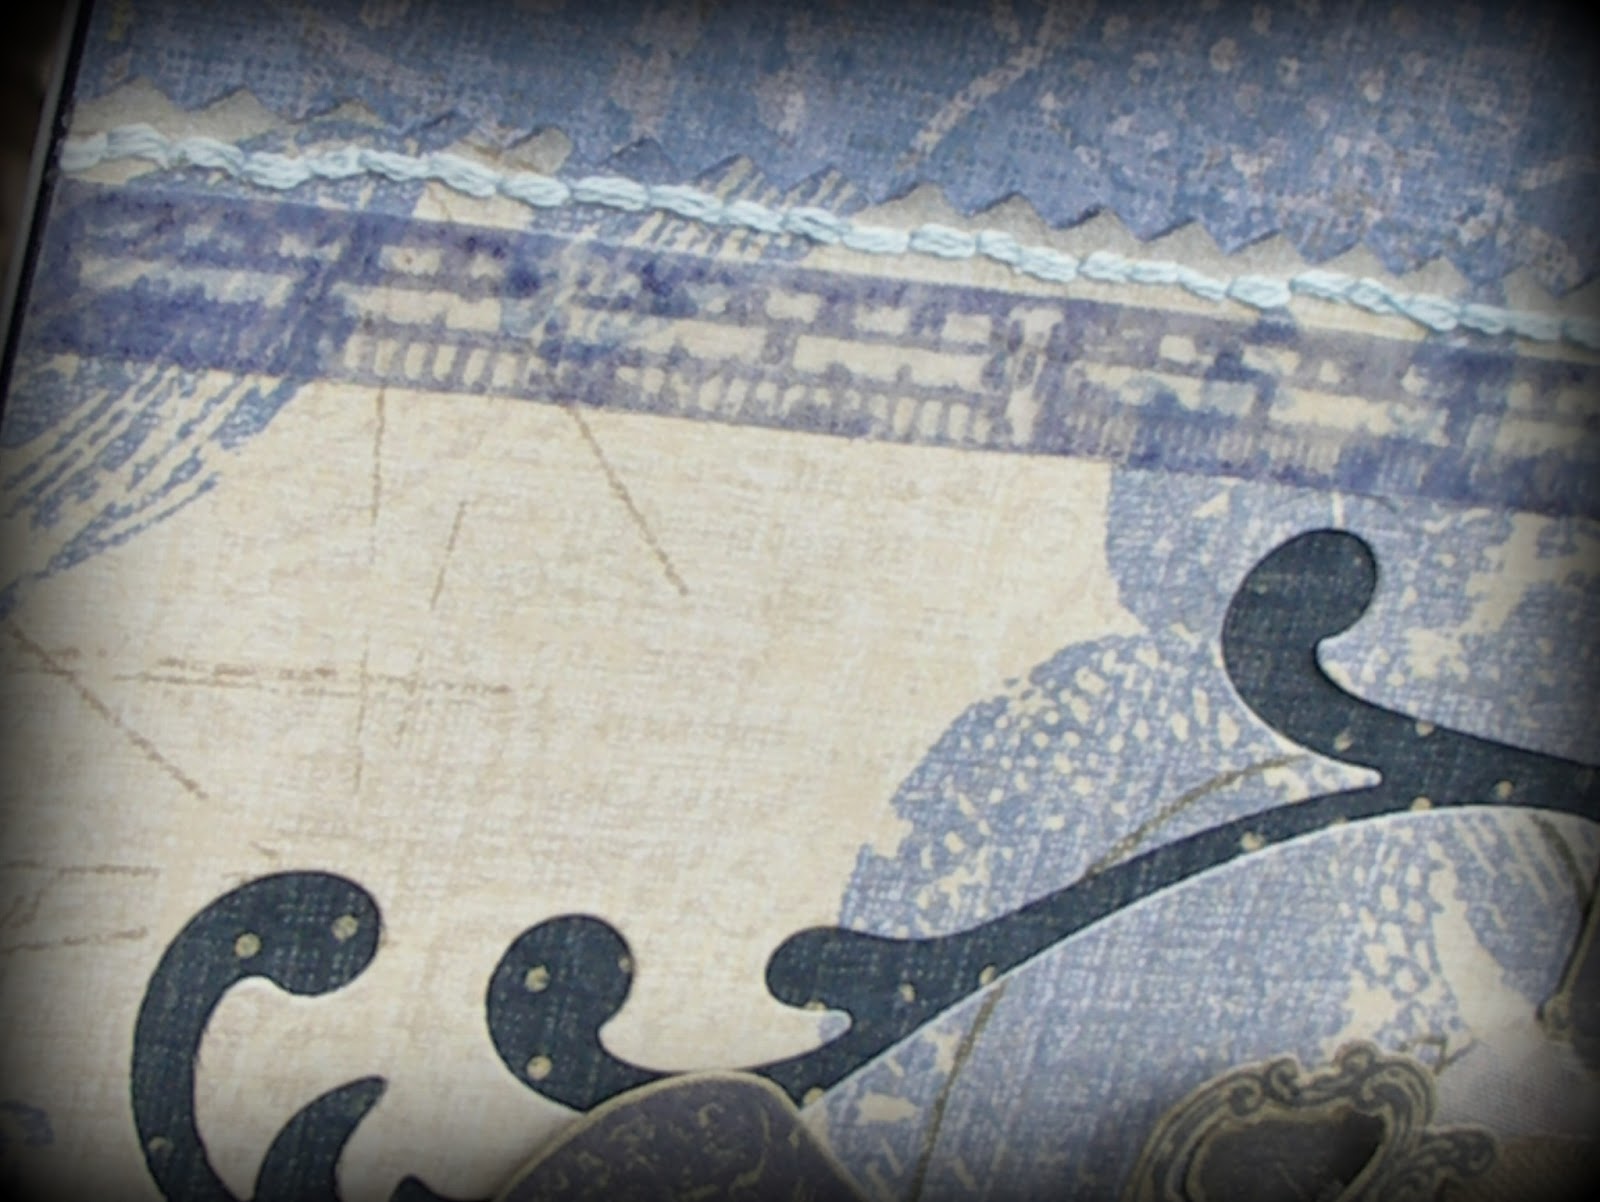

To keep it soft and feminine I made use of some stash papers. These were cut, layered and stitched together. I also die cut the top two layers to allow some of the bottom layer to show through to add contrast.


One of my favourite parts is the tape measure - using Memento Paris Dusk (the ink used throughout this project) I stamped onto vellum and clear embossed it.


The sewing elements were stamped onto antique gold card and fussy cut. I left them without embossing/glaze of any kind to allow the stamp detail to show clearly and to keep the vintage feel.


The final flourish was another of the tattered florals used on my bag. The net layers allowed the hidden stamped elements to show through.
For some reason this challenge has had me thinking for a long (and unproductive) time but now it's done it feels restrained and elegant - not my usual approach eh?! Hope you like it. Time to sign off for tonight. I'll be getting around to visit as many of you as possible this evening. In the meantime take care, hugs Jenny x

16 March 2013

Trying It Out - FAST!!

Hi everyone. Bit of a quicky today. I'm trying to beat the deadline for the latest Pan Pastel UK challenge -Something Girly. Having been given a trial set of Pan Pastels by the wonderful Brenda Brown I have been considering how to use them best. Yesterday you would have found me creating something with a sewing theme using both the Black and Burnt Sienna (not girly colours) from the set. This morning I had a change of heart - it looks way to grungy and not so girly so it will have to wait for it's moment in the spotlight for an appropriate time. So here's something I've rustled up in the past couple of hours (in between other Saturday morning stuff...)


Still not sure if this is girly/feminine enough, but as I say the colours were rather limiting.


So, the recipe - Brenda inspired me to mix PP with Pearlescent Cosmic Shimmer Powder and water for a light and shimmery background. Next, a Prima mask with a combo of white gesso and White Crackle Paint brushed through it.


Next I stamped with foliage and corners with Sepia and Coffee Archival Inks. Another Crafters Workshop was used with white texture paste to add the branches/birds. The butterfly was also stamped, and then a vellum layer was created using Versamark rubbed over with the same PP.


The edges and crackles were shadowed with more of the same PP (it's great if you get too heavy handed as you can go over it with a rubber!!) Finally the simple sentiment was stamped with WOW Copper pearl embossing powder as it is so fine and easy to control.


So there you have it. My first posted play with Pan Pastels. As such I am also entering this into the Sunday Stamper challenge - You Make Me Feel Brand New. And now I'm away to get this posted/linked asap. Hope you all get to play with new goodies and have a wonderful weekend. Hugs, Jenny x

PS. In my haste to get this published I forgot to say I wanted to add it to the Country View Crafts challenge - Pick and Mix. It's a brand new challenge and has a fabulous DT.

15 March 2013

Absolutely Tattered!!

Hello everyone and welcome to followers new and longstanding. I want to offer my heartfelt thanks for all the amazing comments you guys have been leaving me. It is truly humbling and such a boost to confidence. Please remember, I don't mind if you haven't the time every time you visit. As long as you are inspired, for me that's job done.
So, with that in mind here's my next offering.


Hallelujah for a sunny spell!! It could have proved so much more difficult to photograph this without the clouds parting for a while - good things do happen. Now to show you where I started with this.


Those who attended the Stitches show may recognise the freebie bag that was handed out. It is lovely and light with a rather convenient pocket at the front, but not the most attractive accessory on the planet (sorry Korbond, but I figured it could look a lot better!)


Tim's Tattered Floral challenge and the Eclectic Paperie Altered Fabric challenge provided the perfect starting point. There needed to be a base to the flower arrangement, so I took some lace net curtaining, cut it into workable shapes, and then used Distress Paints, water and my fingers to die it. Those paints do blend well when you work them a bit, and being acrylic I knew they wouldn't run if my bag were caught in the rain (we get a little of that in the UK!!!)


After dying and drying each of these shapes were hand stitched onto the bag as fabric spray wouldn't hold them securely enough. Then attention turned to the flowers. I was lucky enough to spend a few happy hours with my very good friend Rosie using the Tattered Florals dies to cut up various types of material including denim and more plain net curtaining. The latter also needed sloshing around in a watery mix of Distress Paints to give it a less harsh mottled look.


Making up the layers into flowers took a wee while as I had to create heavy cotton lace rosettes to support the flowers at the base and give them more dimension. They were then stitched together with buttons and sewn onto the bag.


Now I have a lovely looking bag to take to other shows, big enough to hold 'stuff' and light enough to be convenient! Hurrah! Hope you like it too. Hugs, Jenny xxx

14 March 2013

Boxing Clever at The Artistic Stamper Creative Team Blog

Hi everyone - back again! Just to let you know my second post for The Artistic Stamper Creative Team blog is up today (click HERE) and here's a sneak peak to whet your appetite.


Hope you get the chance to pop over and see what I've been up to. Have a great Thursday, hugs Jenny xxx

13 March 2013

WOYWW 197

Happy WOYWW! Apologies - I know, it's been a bit on and off for a few weeks but I thought I'd better show my face today, even at this late stage of the day.


A snapshot of my temporary desk today shows me painting another of those Morris backgrounds (there, now you can see it's not wrapping paper!) You can see the fabulous stamp in the bottom left-hand corner and the 'palette' in the middle of the desk. The heart will be placed behind the red square in the corner. I've made a start on playing with some new dies which are absolutely gorgeous. On the far right are some tissues that will be used on painted cardstock (got to do some looking up on the best way to tackle them) so they can become card toppers. So there you have it for this week.

Now, I'm off to link this to Julia's central switchboard HERE before catching up with fellow WOYWWers. More from me tomorrow (I know, I'm like buses) but for now take care, Jenny x

More Morris

So it's the second week of our "William Morris style" challenge over at the Frilly and Funkie challenge blog and as the team member who picked this theme I felt just a little nervous at how/whether people would tackle it. I have to say my team mates have seriously done this theme justice, each putting their own unique style/twist on it. And then there have been some wonderful entries too. If you've not seen them yet I highly recommend that you take a look HERE. So the onus was now on to come up with something myself (no pressure then!!)


How about those colours eh? They are classic Morris colours but not classic Buttons, but hey, life's all about trying new things out in my book. The whole thing started with a fabulous Inkylicious Morris style background stamp (repeatable thankfully). I stamped it out in a strip using Archival Ink and then set to with some Distress Inks. These are wonderful for painting with and blend together well.


Actually the painting process is rather relaxing, but then what to do with the completed panel? Morris and his fellow craftsmen were inspired by and used tiles for decorative purposes, so I took that as an idea and chopped it up - a bit drastic eh?


Having tiled it onto complimentary cardstock thoughts turned to a focal point. Working on the principle 'quality not quantity' I took one of my embossed/inked gold Ferro texture paste frames and sat it on a piece of rusted tin mesh to give the impression of a cage.


Over this I added a die cut branch (see Nicola!!) made from chalky inked metal and another of my lovely birds (I know, Red Archival/Tea Dye Distress! What a combo, but it works!!) This glossy little birdy deserves to stay outside the cage.


So has this made the grade? That's for you to decide, but if it inspires you to have a go at this style yourself then it will have succeeded. There's a list of ingredients below and don't forget to pop over to the challenge blog to see what my teamies have done. You're in for a treat. Hugs to you all, Jenny x

PS. When you read through the challenge take a look at the first image of the woodpeckers in the orange tree - guess who created this tapestry and now has it hanging on her bedroom wall!

11 March 2013

Steampunk Layouts

Hi everyone and welcome. It's so good to have your company. Just to let you know I've got a few things to post this week, and today I'm kicking off with the first offerings - some steampunk inspired cards (that were photographed well before the snow hit!!)


Each of these were created using digital images from Nicecrane Designs (you might recognise the second one from a post by the wonderful 'Butterfly' HERE).


The genius thing about digital images is that you can resize them to match your requirements - in this case to fit beautifully inside the large die cut sprockets made using my metallic grunge paper recipe - and the bonus with these images is that they are black and white, so you can colour them however you want. Here are the two sets I used (click on each one to link you to the site).


I didn't want to upstage these images too much, so having added Distress Ink/Stain colours to them I turned my attention to the backgrounds.


In order to work around the image without affecting it I used a Finnabair trick - drawing around each image with a pencil, deliberately smudging these lines to add some shadow.


I was then able to remove them and start splatting Distress Stains around.


The choice of background colours was determined by those used on the main images.


Stamps used included sets from Tim Holtz, Kanban and a freebie from The Craft Stamper.


These were complimented with various die cuts, metal bits and bobs and wooden elements from Crafty-Emblies (one of which was coloured with Metallic Distress Stains).


Hope you like the layouts for each of these. I have taken inspiration from lots of scrapbook layouts - well if they work for a 12"x12" page why shouldn't they work for a 6"x6" card front? Now, it's very last minute but I saw there is a challenge over at Try it on Tuesday - Time Flies, so I'm entering the first card into it this time as it reflects a view of future flight in times past.  Right, is time for me to away as I have origami to do with Son 3, some paste to slap around (on a project!!) and some dies to use (I've got some new Sizzix Thinlits! SQUEAL!!) Hope you all keep well and warm, hugs Jenny x
Related Posts Plugin for WordPress, Blogger...